
Tearing out the wallpaper in the family room and entry was probably the most painstaking, frustrating project in this house. Just when you think you’re moving right along…the worst is over…and you’re just going to skate through the rest of the house, you get smacked with a project that has you ripping your hair out and crying in a corner. I would rather eat glass than have to do this again.
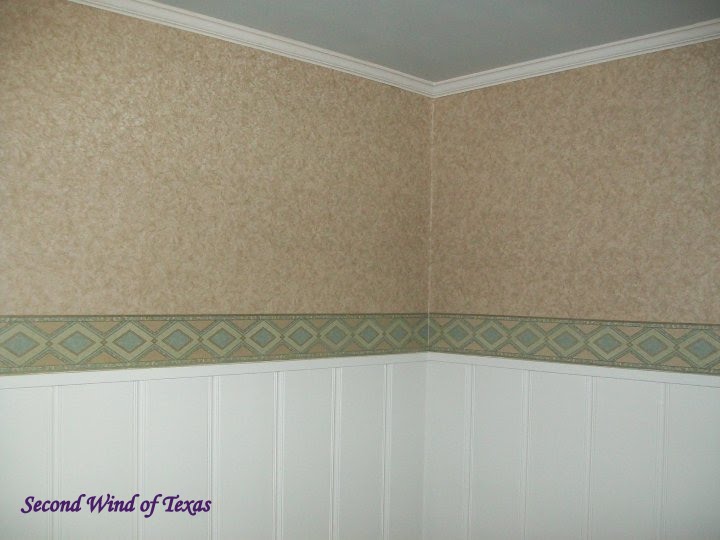
Quiet and unassuming, we had no idea what was lurking underneath this boring paper with its ugly Santa Fe border.

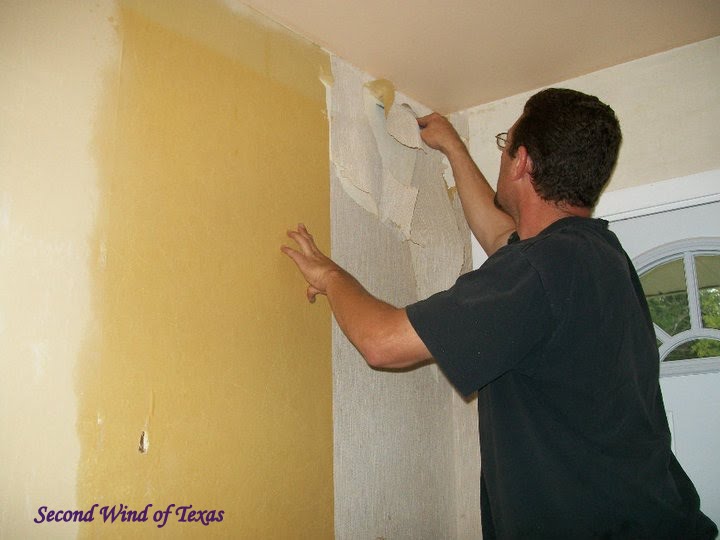
We don’t have a whole lot of before pics of the family room paper. I think I was just ready to dive in and get it over with. And dive in, we did. The yellow color is the adhesive from the first layer. The darker colors are another layer of paper.


Stripping and scoring, wetting it down, stripping and scoring, wetting it down. This was our life for a week. I mentioned the Downy and water mixture before, but something that works just as well is vinegar and water. It stinks a lot more but it’s cheaper than Downy. Either one is cheaper than the commercial wallpaper strippers you can buy, and works much better. Don’t waste your money on those chemicals.
All said, we had 3 layers of paper in the living room, and 2 in the entry. We even got down to the original wall board from 1959.

In some areas, Mark was having to sand the paper off.


That’s a good man. Because at this point I was just ready to just take a match to it all.
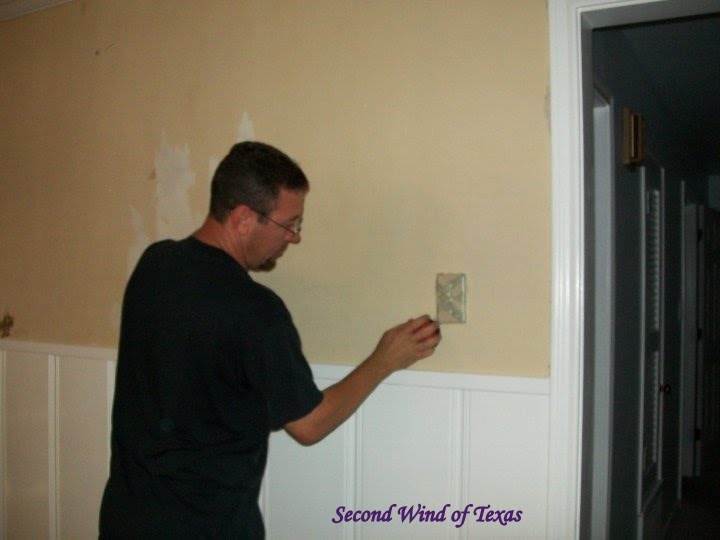
We spackled any hunks that came out of the wall board as best we could with joint compound. After sanding those areas we discovered the wall was so uneven with pitting marks, areas where you could see the studs, and just generally crappy looking. Adding paint made every imperfection stand out even more. So, we tried texture paint.

This has sand-like material in it and I was sceptical at first. I thought it would wind up looking cheap. But it filled in any minor imperfections and after it was painted, the wall actually looked even. I’m not sure what we paid for it, but it was worth every penny. They do sell sand that you can add to your can of paint. I bought some for touch ups. It’s about $5 for a box of it and you will need at least 2 for a gallon of paint to get the texture right. It’s cheaper to get the texture paint tinted to the color you want. We took the expensive route, getting it in white (because we hadn’t chosen a color yet and we also wanted to use some in the bathroom) and then painting over it.
Another thing about using the sand texture paint, is you don’t want to go over an area too much. You will wind up with a blob that doesn’t match the rest of the wall, and you have to scrape it off.
After it was done, I’ll admit it…I did a little happy dance.

I’ve had a couple of people ask why we even bothered taking it off, and why didn’t we just paint or texture over it. Ok, it was mostly my teenage son whining asking, because he was tired of helping wash adhesive off walls. The answer is simple. The cheap-looks cheap. Eventually anything you put on paper will soak through and it will start coming up. You have thick-globby looking areas, spots where the paper separates and starts peeling up, and you just did a lot of work that is going to have to be redone.
As much as I hated this job, I’m glad we took the time to do it right the first time. A lesson that took me a bit to learn, and I’m still learning. Knowing when to take shortcuts and when to not can mean the difference between a home that you are just living in and a home you live in.
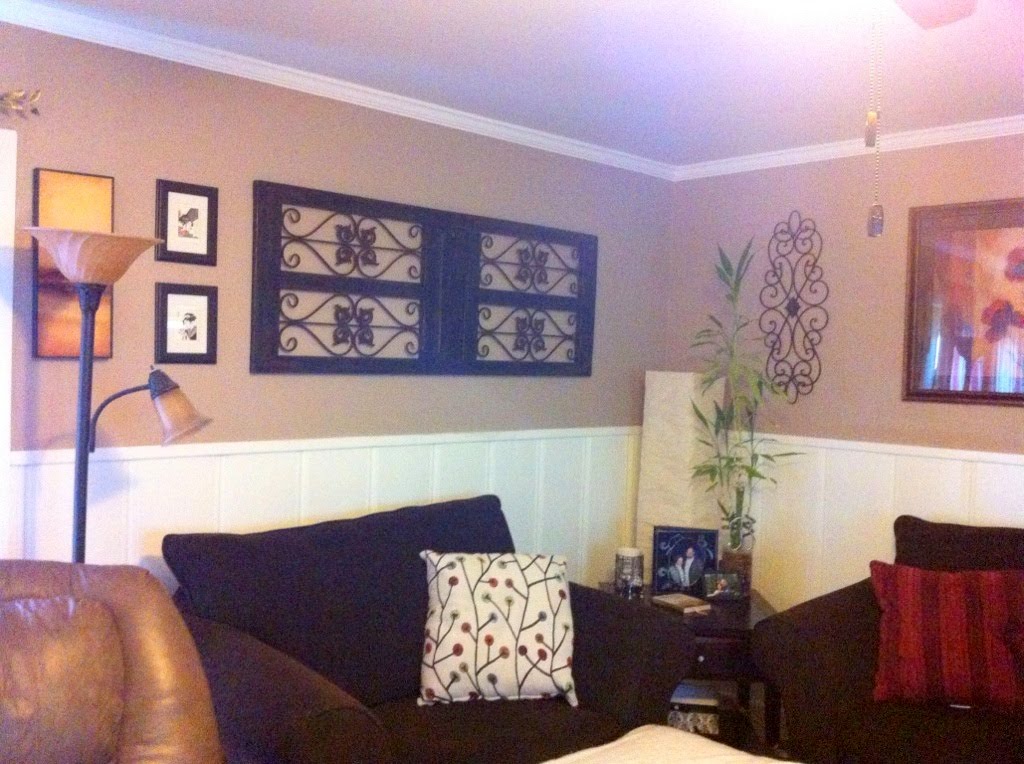
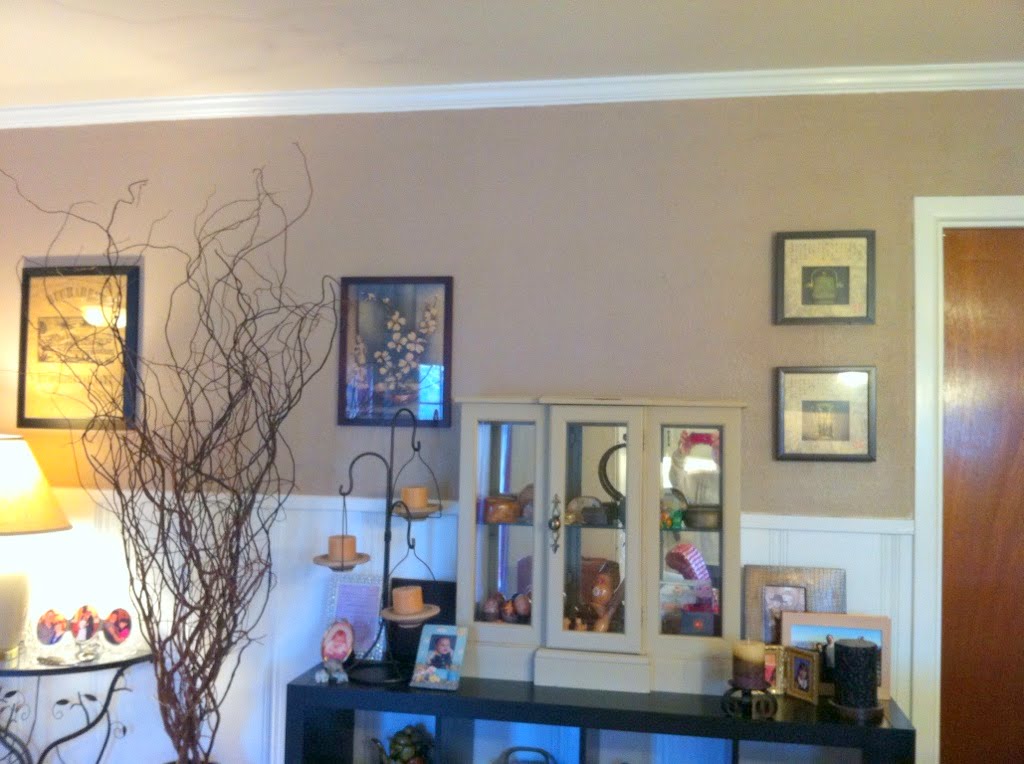
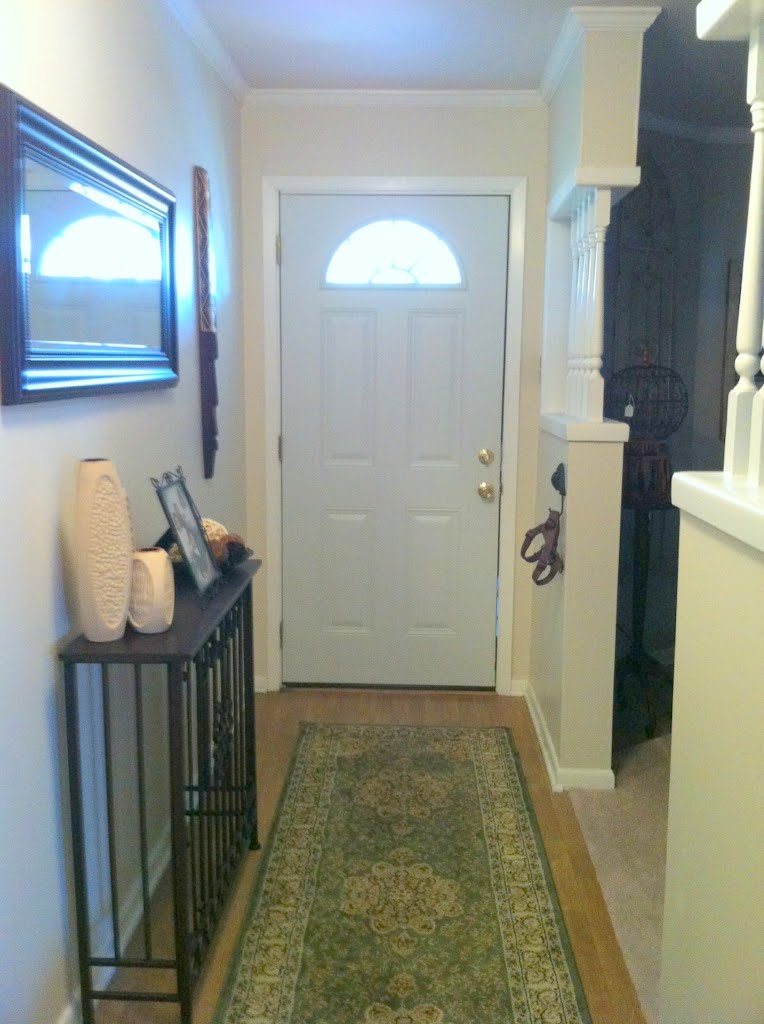
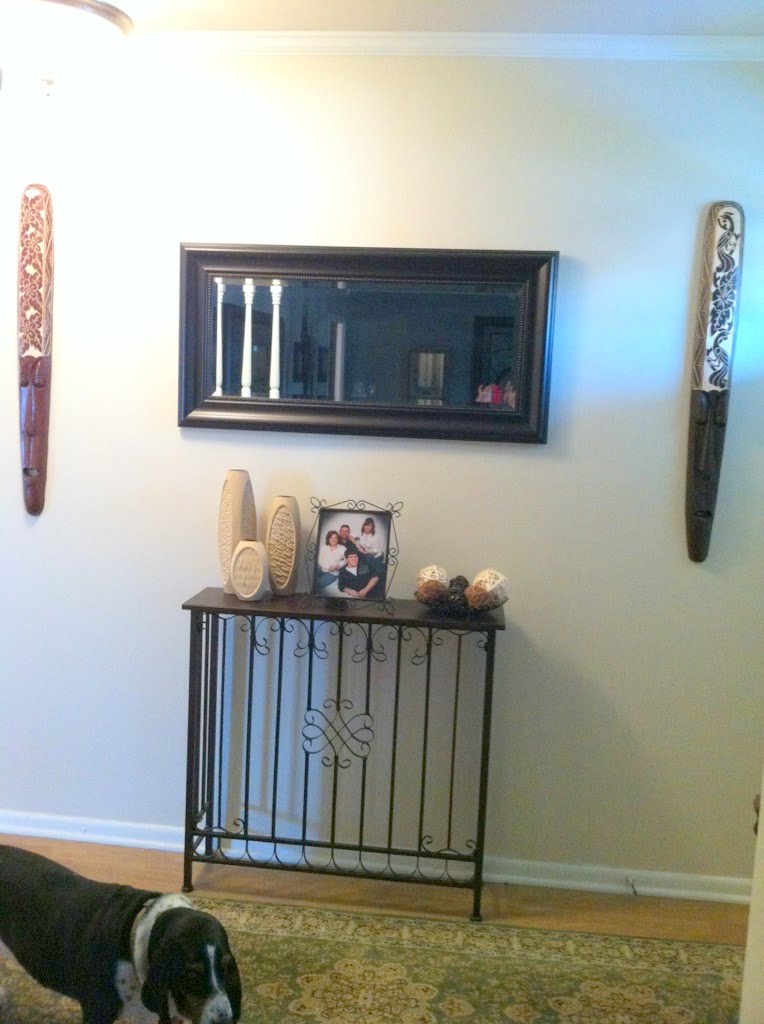
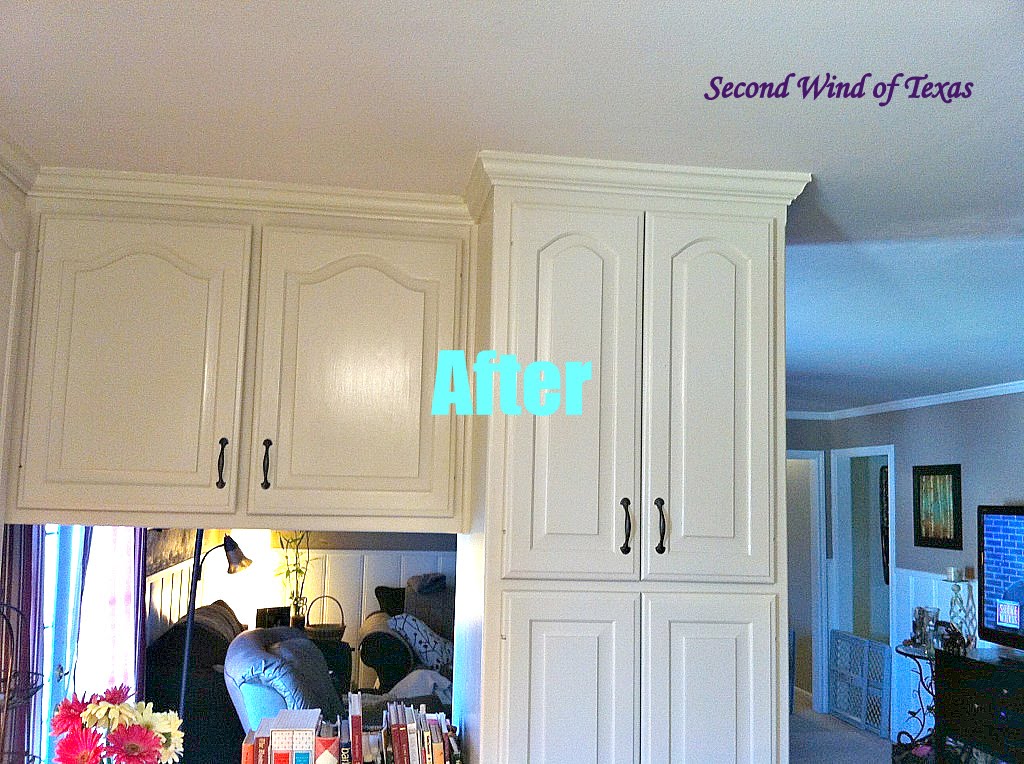
And here we are now…
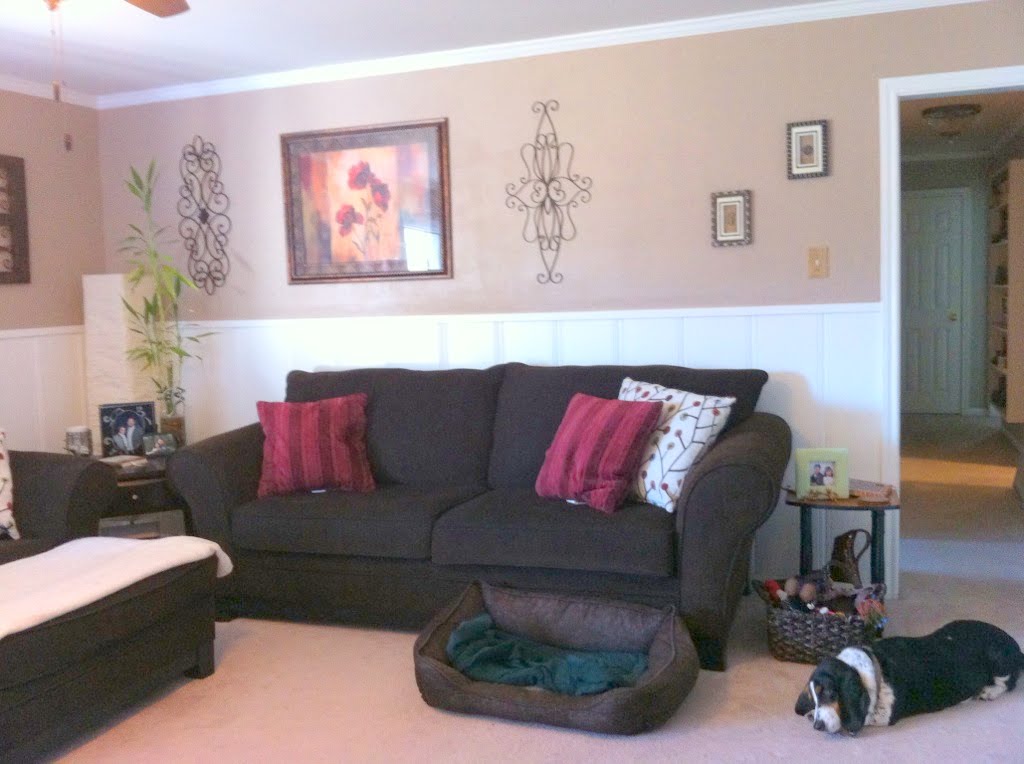


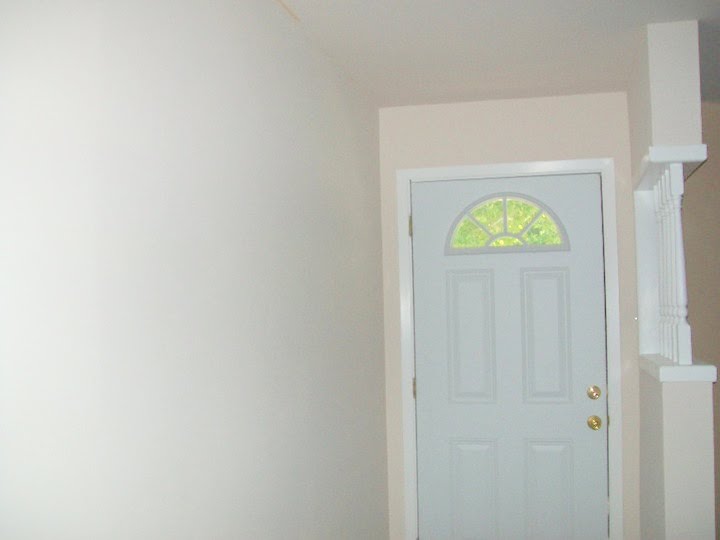
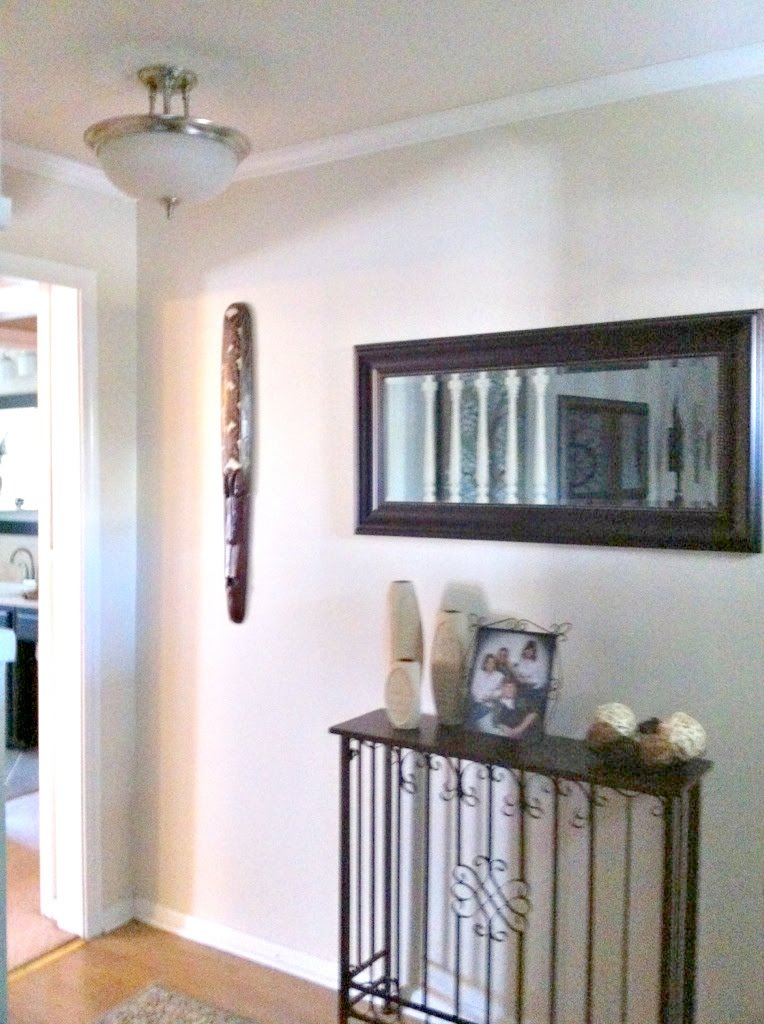
The Entry… The color is Behr’s Hazelnut Cream. And for direction, when you come in, to the left is the Formal Living Room and straight ahead is the Family Room.
My shadow is never far.
And for the instant gratification side by side…
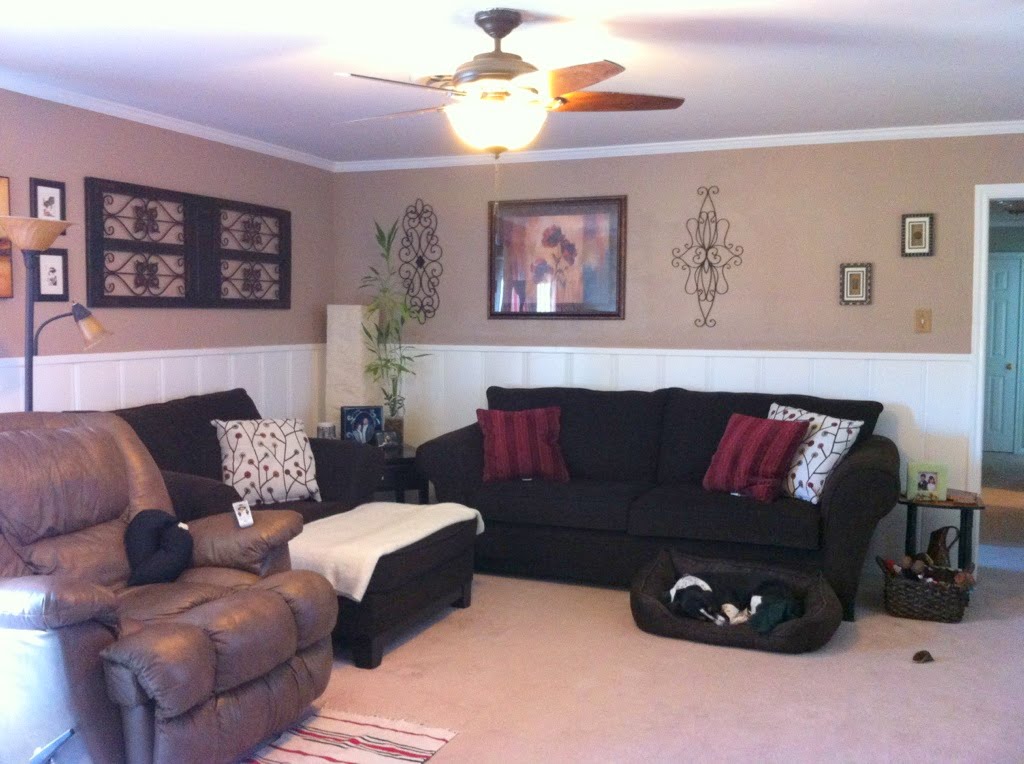
The next major project will be ripping out the nasty carpet and putting in wood floors. But for right now, this is a room we can live in.
Thanks for hanging out with me today and reading yet another post about wallpaper! I promise, this is the last.
Y’all come back soon!
Cheers, Jodi


2 thoughts on “A Family Room For Our Family”
Good Heavens, what a tremendous lot of work for both of you. Kuddo’s for sticking with it. The finished project looks so much better. Just curious…while in the middle of all this work, did you ever consider just replacing the sheetrock on the top half of the wall. It would almost seem easier, but probably would be accompanied with it’s own set of problems and troubles that I’m not considering. Again, nice job.
Thank you for your comment, Linda! At the time of taking the paper off, doing the drywall would have just been too much for the two of us, and we were also on budget and time constraints. The crown molding was also already on there and we didn’t want to have to redo all of that. Believe me…there was a couple of times there where putting a sledgehammer through it was very tempting! Ha!
I’m so glad you like it hon.