

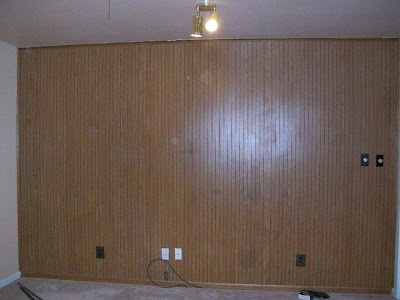
When it comes to wall coverings, somewhere around 1975 people just plumb lost their minds. Whoever thought putting thin, fake, wood veneered panels all over a nice smooth wall should be locked away. The only saving grace is that it’s relatively easy to remove and it can be up-cycled, in most cases, into wainscoting for another room. The only question is, what to do with the now not-so-smooth wall that ripping off the ugly left behind? I’ll show ya…
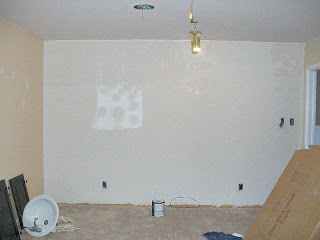
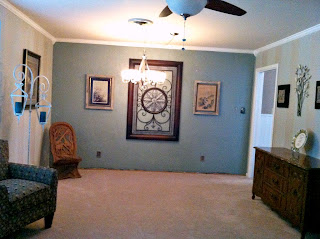
This is our Formal Living/Dining area-Front Room-Great Room…whatever you want to call it…
that was oh so popular to build in 1959. In our house, this paneled wall is forever known as The Wall.
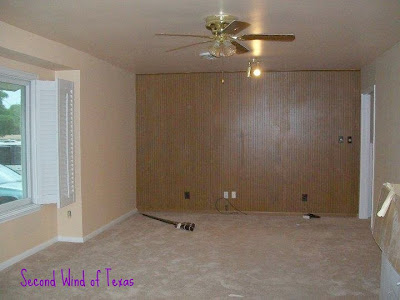
When you walk in the front door and look to the left, you are greeted with the Not-So-Great Room and The Wall.
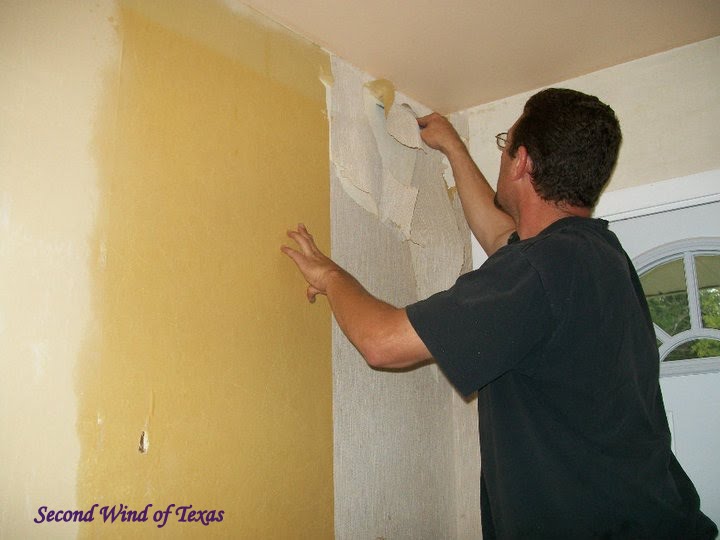
There’s no way I could let this stay. So, we began by taking all of the socket covers off and ripping it down.


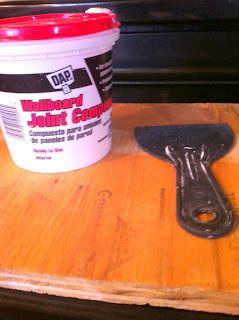
There were a lot of finishing nails to take out (or pound in) and holes where the glue was to fix. So, that will be the first thing you want to do. Scrape off any glue chunks that stayed behind. Get your handy dandy joint compound and fill any chunks that might have come out of the wall. Let it dry and lightly sand. It doesn’t have to be perfect. If you notice later that you have severely uneven spots, you can always sand them more along the way.

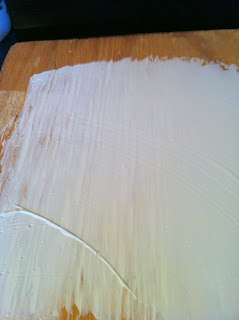
After everything was dry and sanded, the next thing I did was put a thin layer of joint compound-working in small sections-on the wall. You don’t want to work in too large of a section because it will start to dry and then you have to scrape it off and start over.
I’m showing you on a piece of plywood so you can see better.

Get a plastic grocery bag and wad it up. Gently dab at your wet section. You will know if you put too much on because you will get really large peaks. You want to adjust the amount you put on, to where when you use the bag you will get the texture you need.

If you get too much on, just scrape it down. Here you can see the ridges in the plywood. This is about the thickness you want, depending on how uneven your wall is.

Here the wall is dry.

This took me about a day, working off and on. If you look at your wall sideways you can see any unevenness that needs to be fixed. Just sand that area and start over. It’s time consuming but really one of the most simple projects you can do.
I thought this color was really pretty in the store. It’s Ralph Lauren Green Teal in metallic. When I got it on the wall, it was really more of a smokey blue. Too dark.

Then I decided maybe more dark would be alright. Black is in, so I did a metallic charcoal. Um, no. It was so bad, I didn’t even take a picture. At $40 a gallon for the paint, my husband begged me to get it right.
By the time I got back to it, Home Depot had stopped selling Ralph Lauren and went to Martha Stewart. So, I did Martha’s Rue Green in metallic.
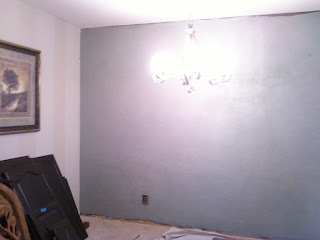
Hard to tell from this pic, but it’s a little too aqua. I didn’t want to go have to buy another paint, so I added a little bit of the charcoal color to the rest of the Rue Green and made my own.

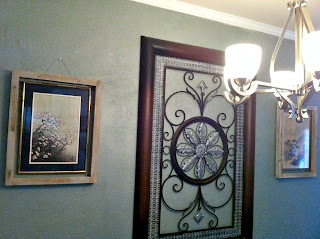
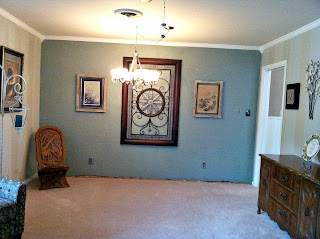

Right now this room is just for overflow supplies and stuff I really need to put away. We’ve got plans though. Espresso wood floors, farmhouse table under the light, a little seating area when you first walk in. Here’s the rest of the room as it stands right now…


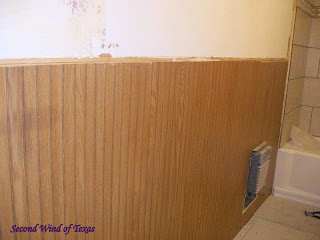
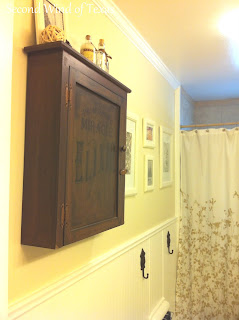
The paneling found a new home in the guest bath.
And because I believe in full disclosure…this is what I’m hiding:

Ha! It was real fun moving this junk around the room to take pictures!
And here’s your before and after instant replay:


I’m not happy yet, but I’m getting there. I think The Wall is more happy that I’m done messing with it. Maybe.
I hope y’all enjoyed this post, and come back soon for more projects, tutorials and all around fun stuff to do! Please feel free to leave some love!
Cheers,
Jodi


2 thoughts on “Panel, Panel On The Wall-Please Go Away”
Wow! That’s an amazing transformation! Your room looks great. The custom paint color is very pretty. I like how you reused the paneling as well. Looking forward to seeing how things evolve.
Wow, beautiful job! Love the change!