

I’m not a real wedding picture all over the living room kinda gal. It’s not like I don’t want them displayed anywhere, I just think the living room is a young newlywed’s wedding picture-wall domain. I’m older…I have real artwork. By the time our pictures got back from the photographer, the cosmos decided that I needed to have a foot surgery that would put me on the couch for 6 weeks.
To stave off boredom, and to keep himself from coming home from work and finding his new wife with her hair torn out or trying to catch the cat with a fishing pole, my husband bought me an iPad. He’s kinda cursing that decision now because that meant I had 24 hours a day to discover Pinterest. That would in turn lead me to discover, among a million other things, the Gallery Wall. My over-stimulated brain is telling me I don’t need a Gallery Wall…but there’s 800 suburban housewives telling me my home won’t be complete without one! Well we can’t have that now, can we.
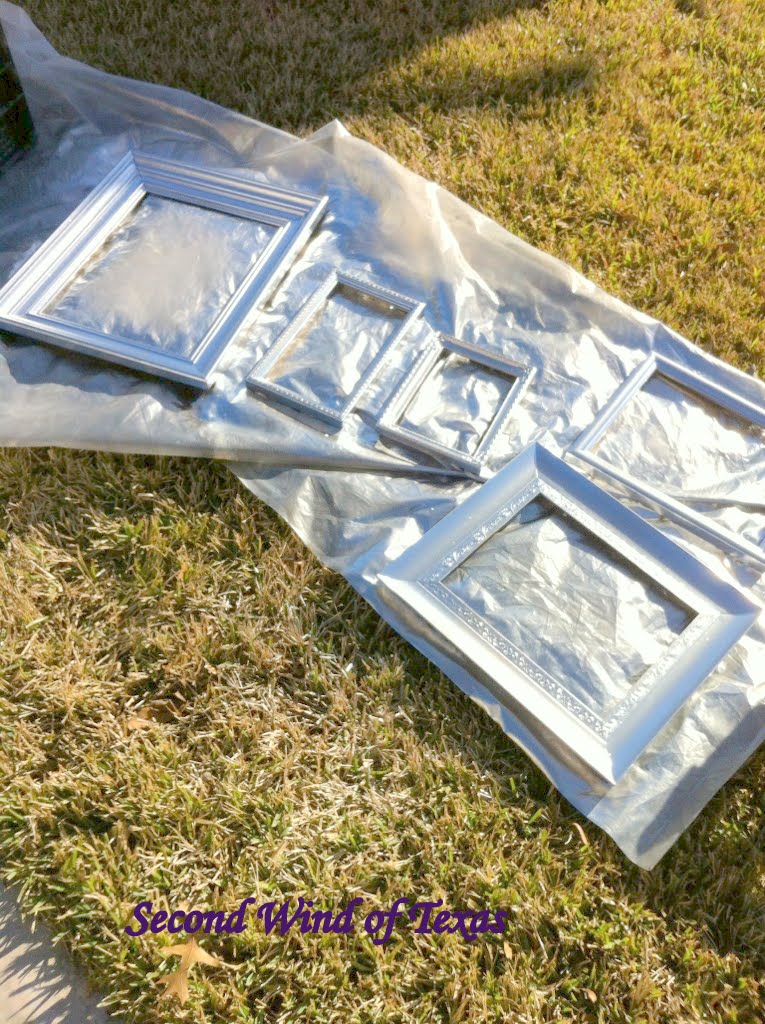
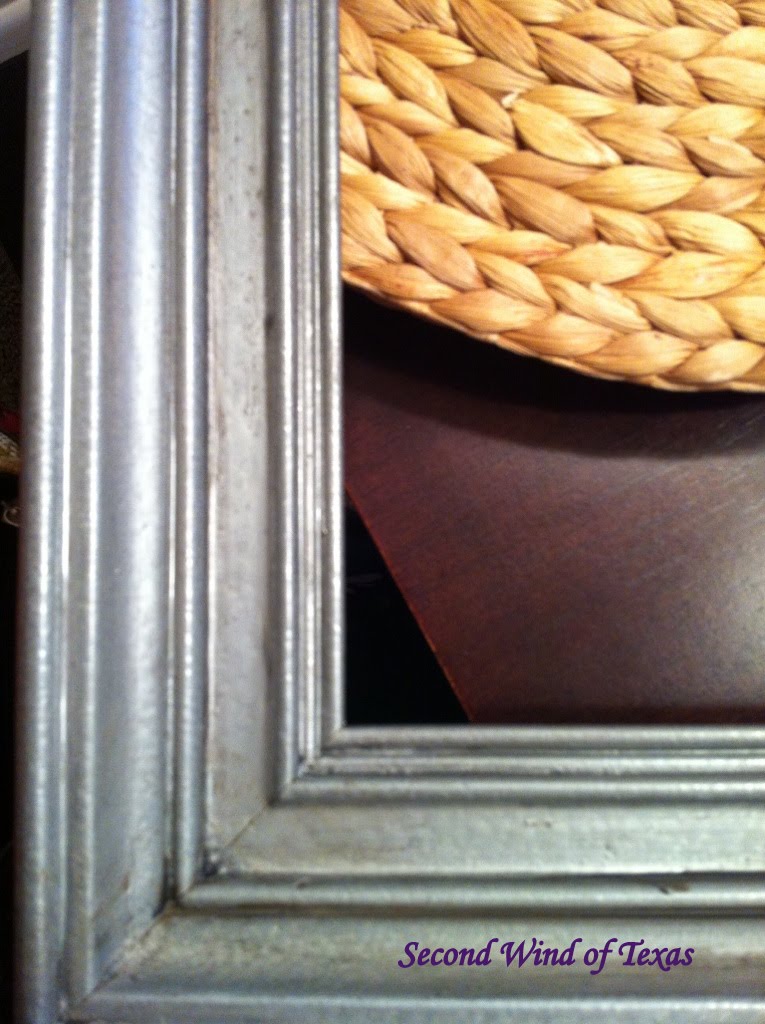
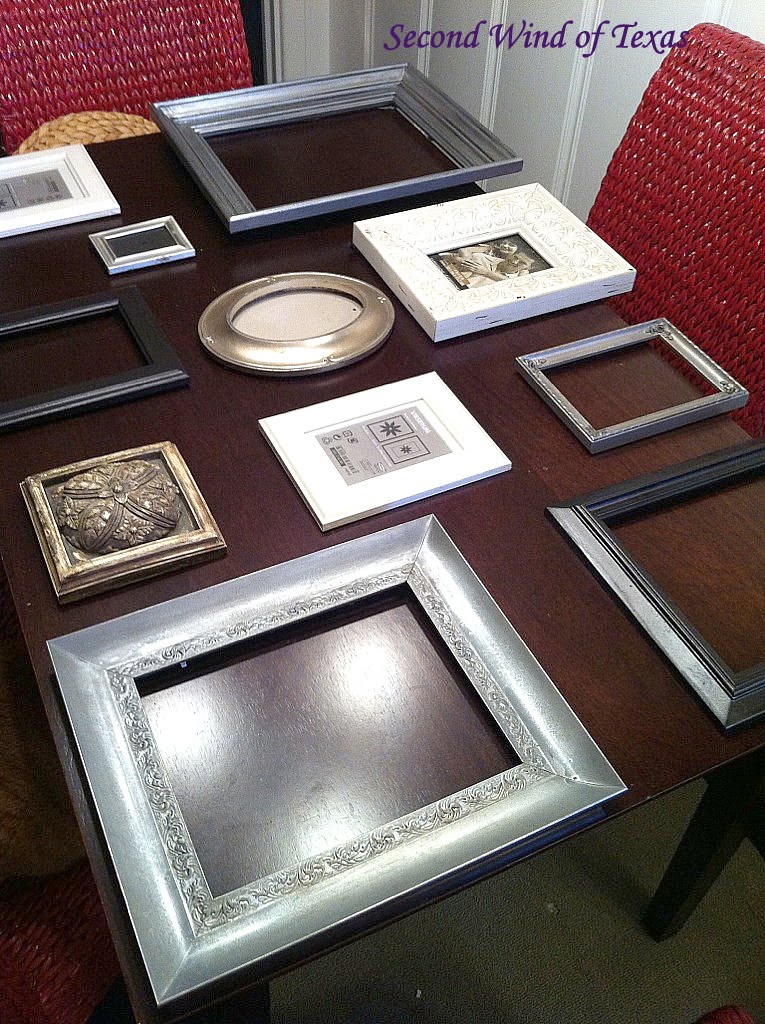
There are two problems that I can see with the Gallery Wall. (You thought I was kidding about the 800 housewives?) 1: Where do you put it when wall space is at a premium? and 2: Unless you own a Hobby Lobby, frames are expensive. As soon as I was mobile, I was on the hunt. Ever notice how when you’re not looking for something, you see it everywhere? I wanted silver frames to add to the espresso and ivory colored ones I already had. In the coming months of searching thrift stores and resale shops, all the half way decent ones were gold. Eh. I got them anyway.
Now to figure out how to turn them silver. I had read things about using silver leaf before, but I wanted to get out cheaper than that. Since they were only about 50 cents to a dollar each, I thought it would be a perfect time to experiment. Enter this:
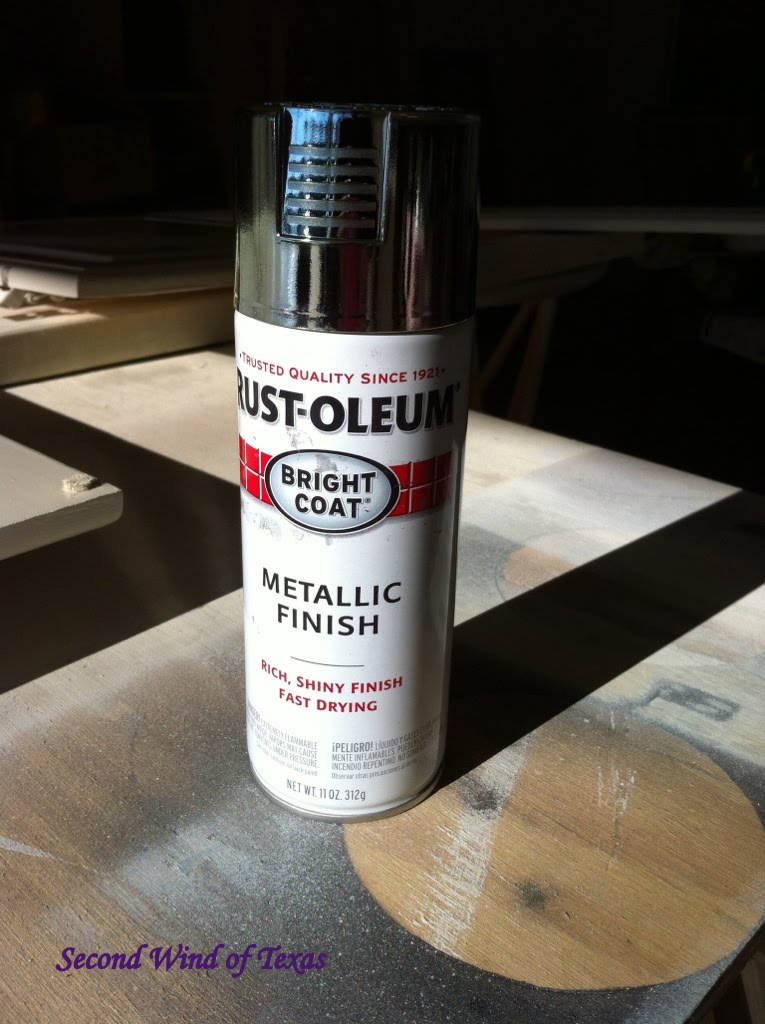
Incase you can’t see, it’s chrome.
I sprayed them all down out in the front yard (under the disapproving eye of my Yard-Nazi neighbor). I should add here that they are all different kinds of material. Wood, metal, plastic, some kind of hard cardboard stuff…
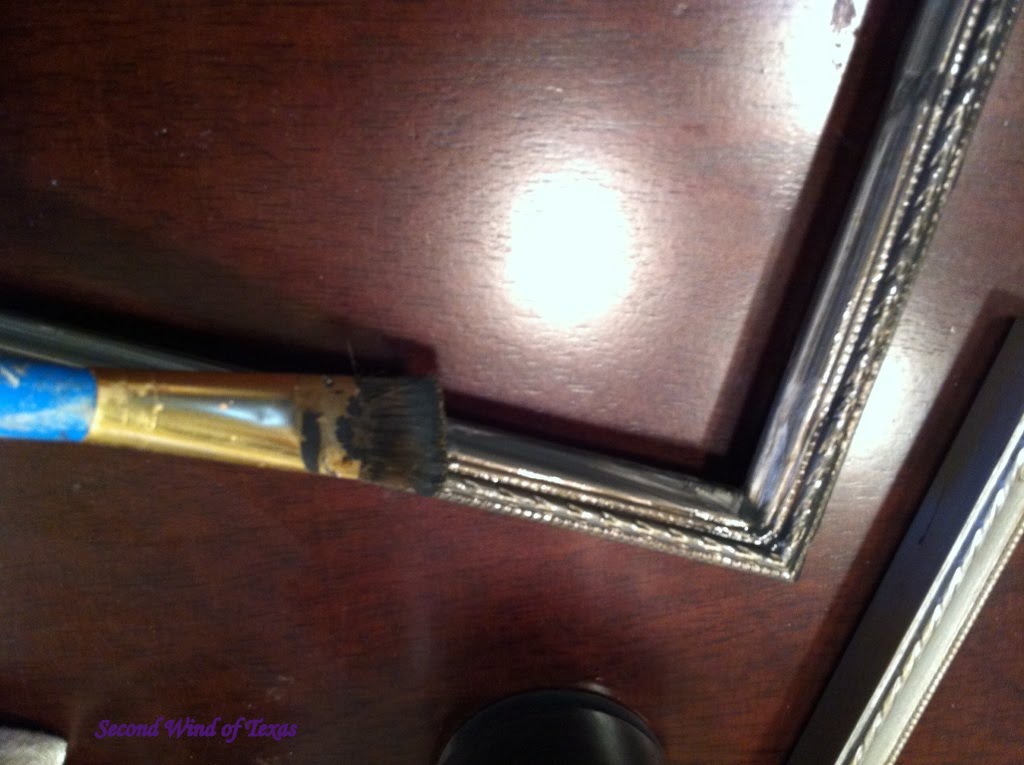
I started with the black, just rubbing it in.
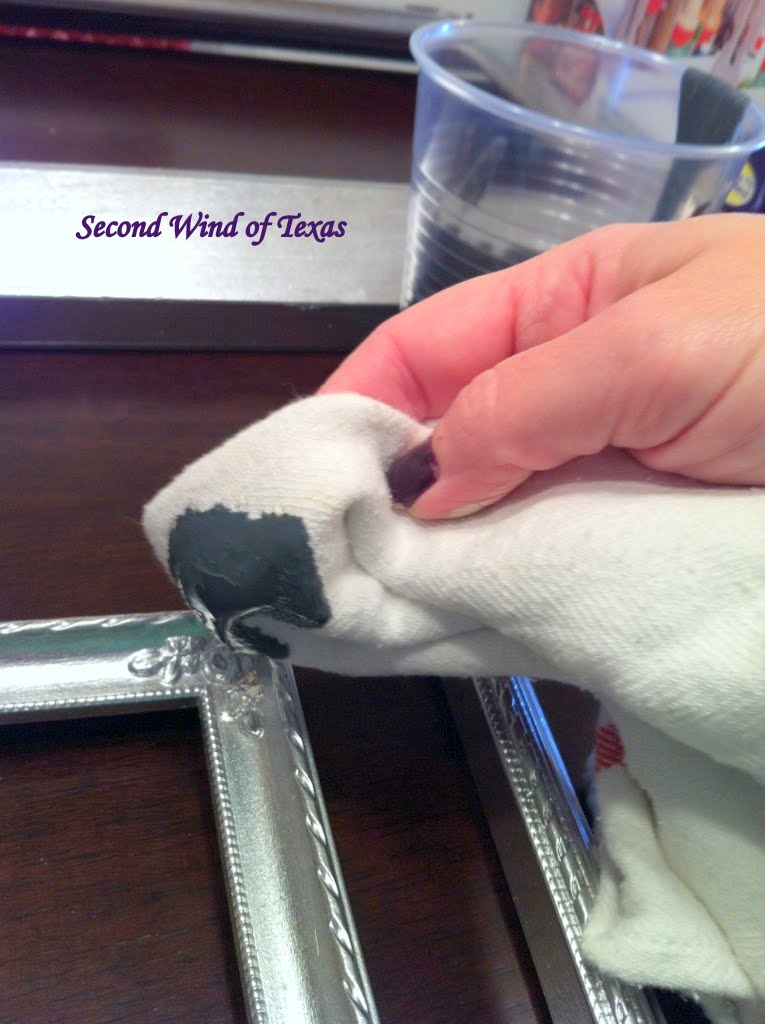
After one coat.
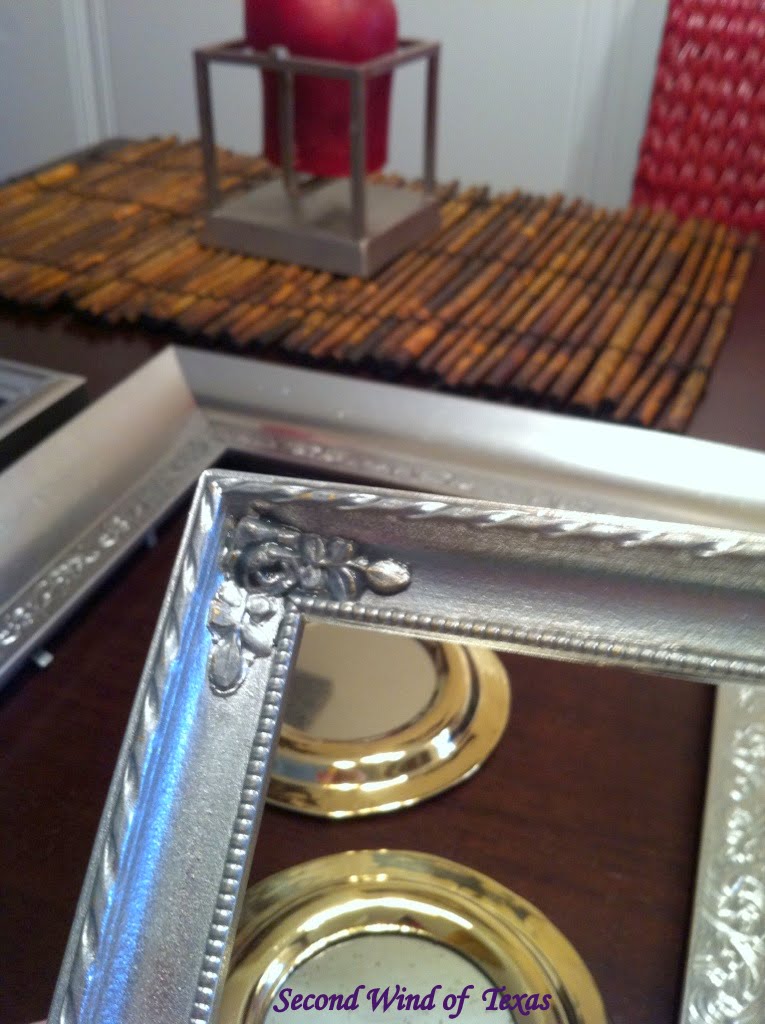
Then I put a coat of brown. Then another coat of black on top. Then more brown on some.

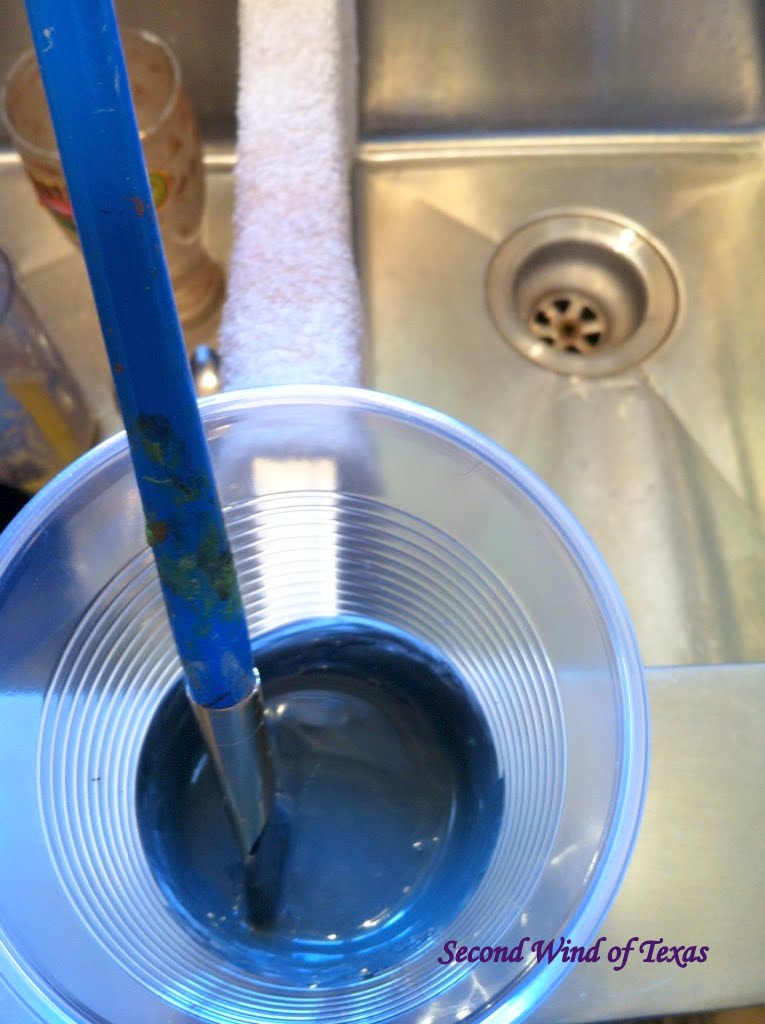
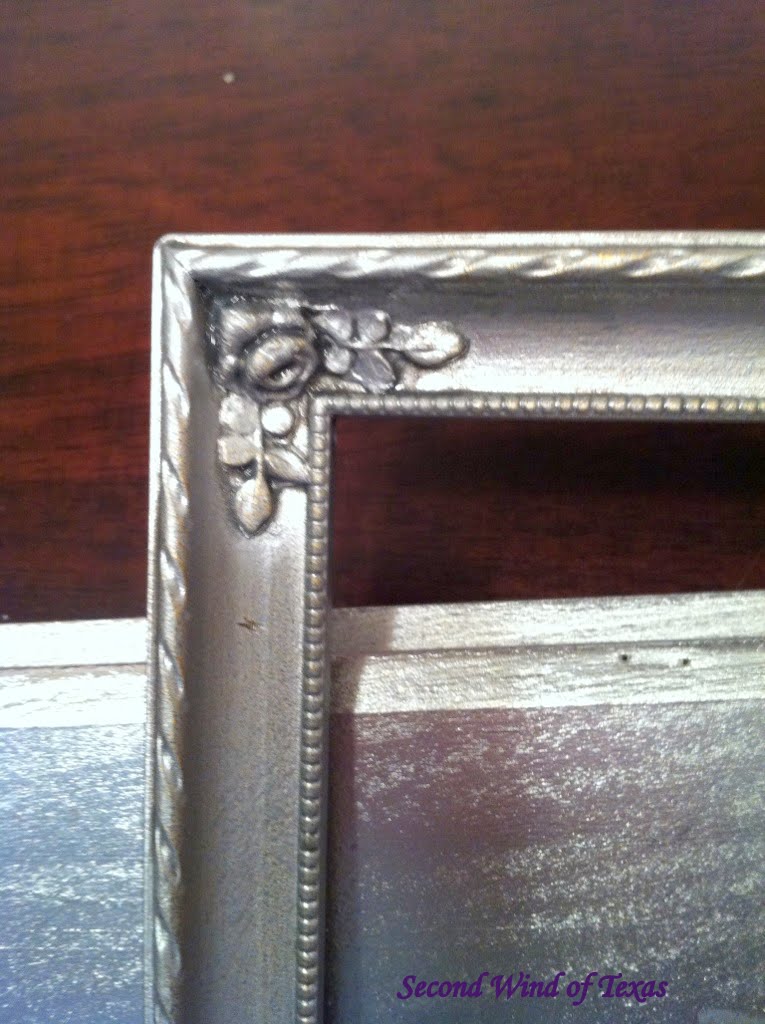
In the middle of wiping glaze off. At this point, just wipe off as little or as much as you want, depending on how ‘tarnished’ you want it to look.

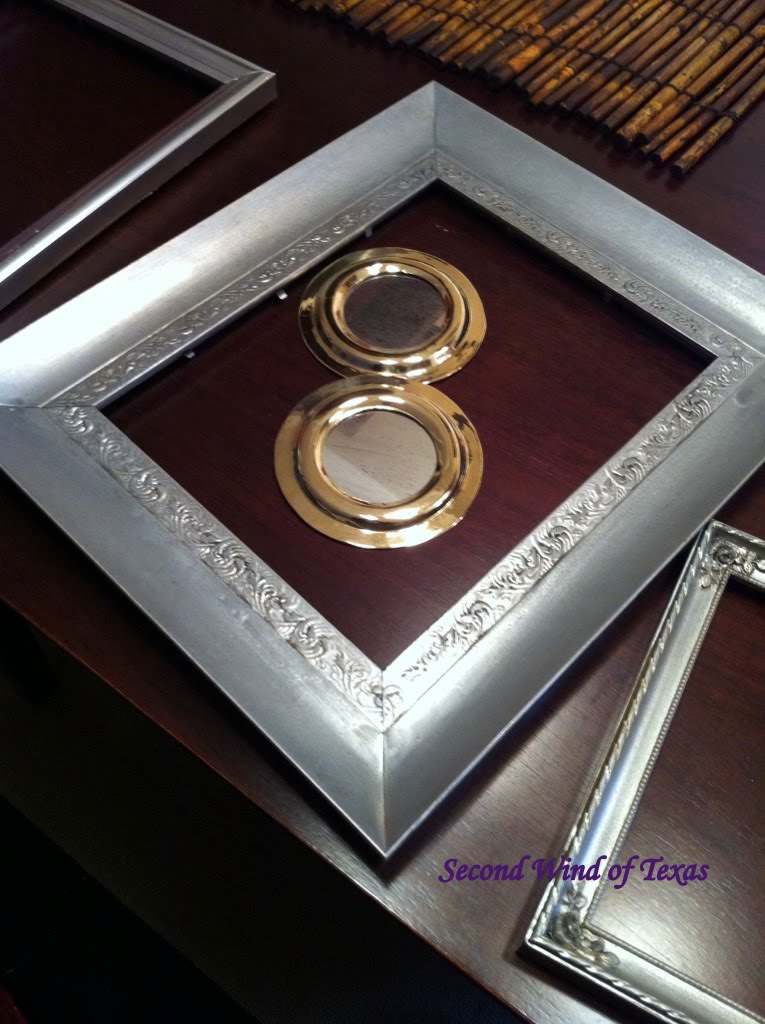
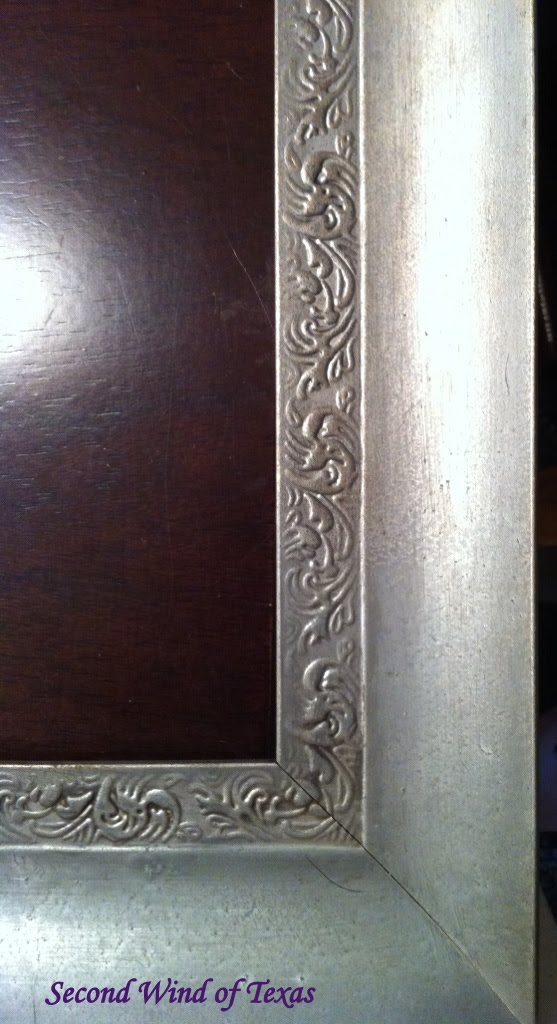
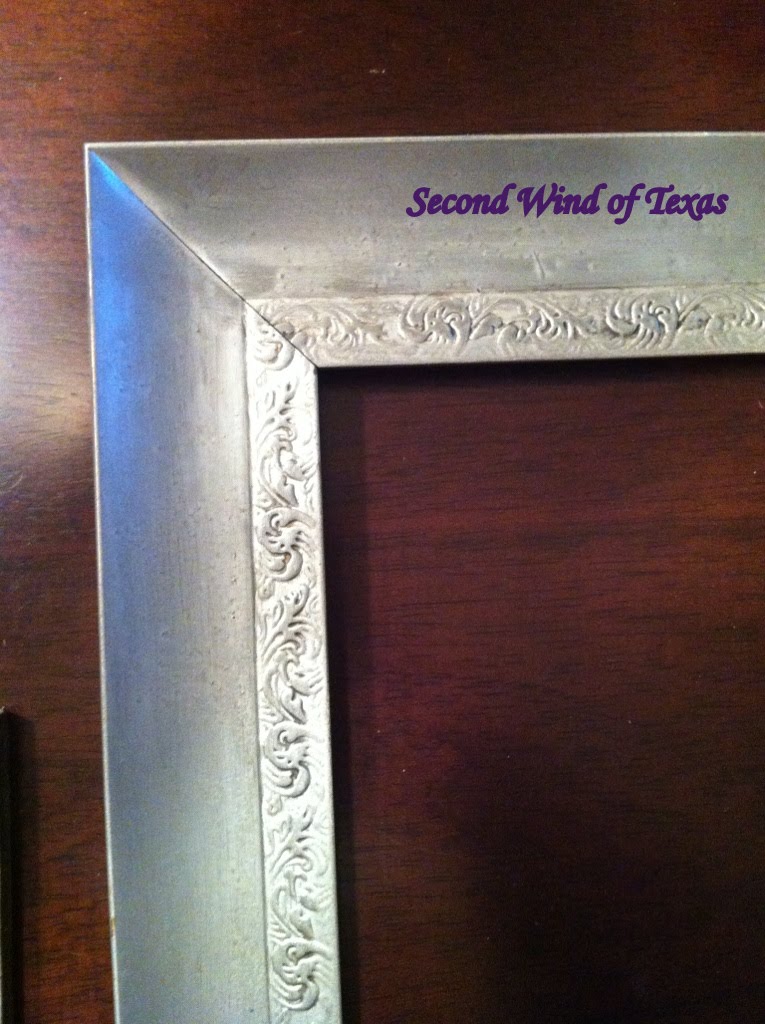
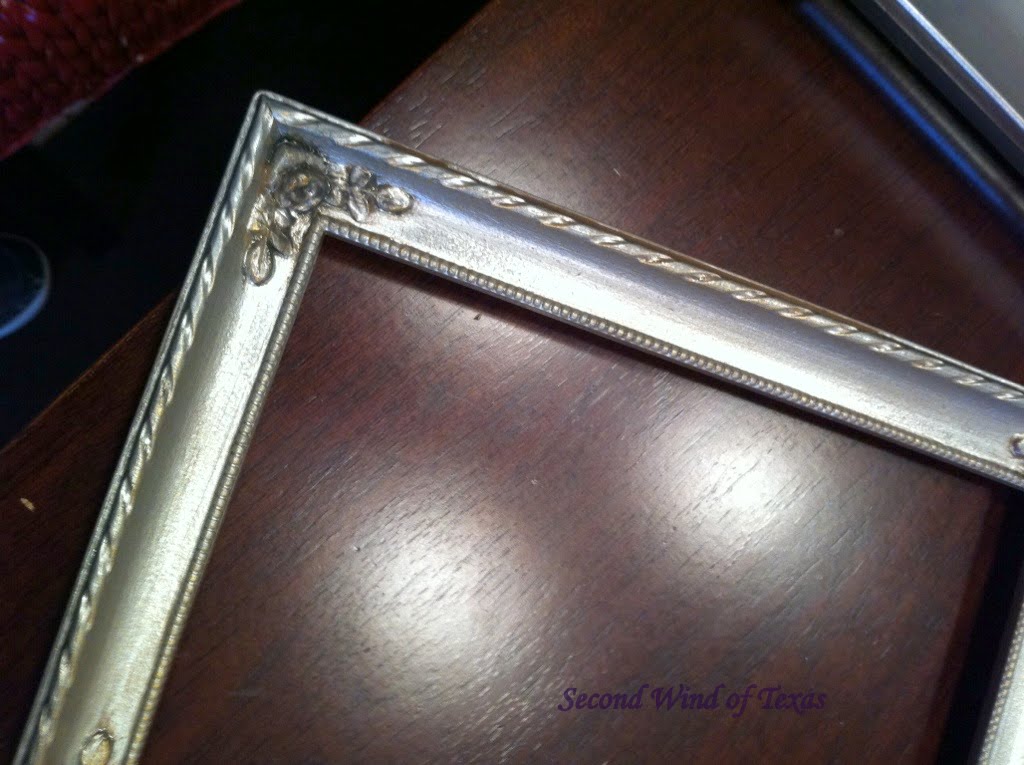
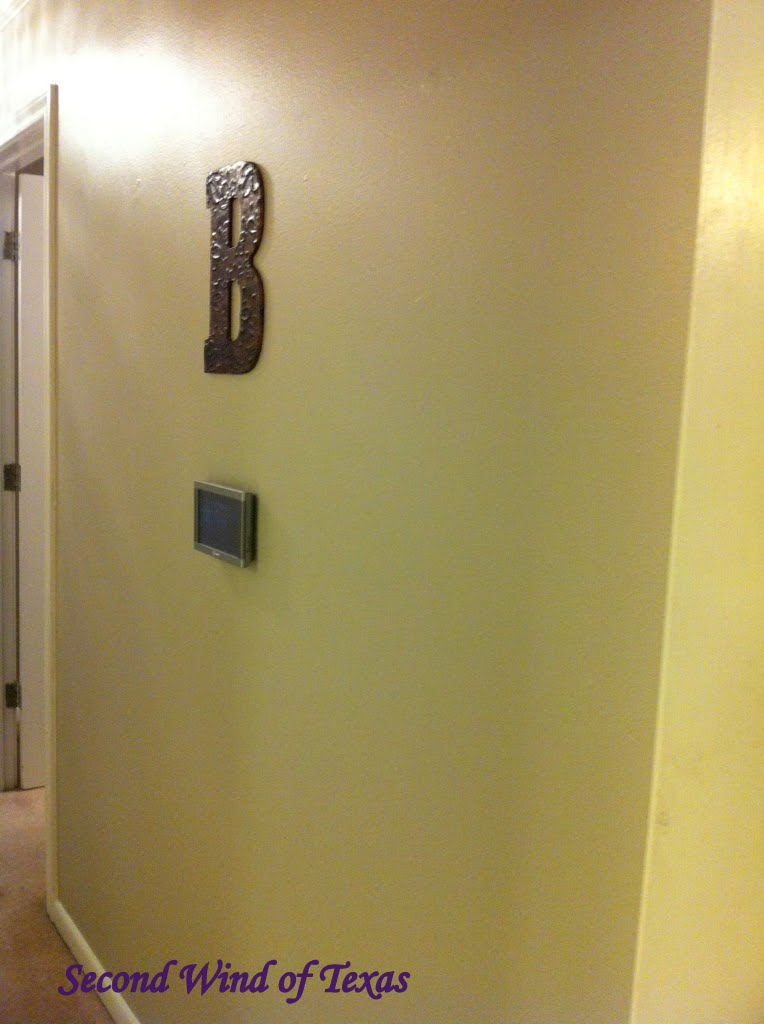
And that’s it! At this point I at least wanted to have them on the wall, but life got in the way. I was thinking of here in the hallway, surrounding my lonely B.
In the mean time, you get the gist.
Rochelle Vega from Little Rock, Arkansas! She emailed and said that it was—you guessed it!—A picture frame! Rochelle, email me your address and I will send you this one! I’m breaking up a pair, but they are my favorites, and I would like you to have one. It’s a 5×7, and I might even put glass and a back on it.

I hope y’all enjoyed this tutorial! Come back soon because there’s tons more stuff to do!
Cheers!
Jodi


4 thoughts on “Tutorial: You’ve Got Silver All Over Your Gold”
very cute! your gallery wall is gonna totally rock!
Thank you 🙂 Only if I can get Mark to help me hang. Everything I’ve hung has at least 3 nail holes behind it. Ha!
Neat! Got a lot of those gold frams in storage and on the wall. Have to give it a try.
thanks, Ann
If you do, please post a pic so we can see how they turned out! 🙂