
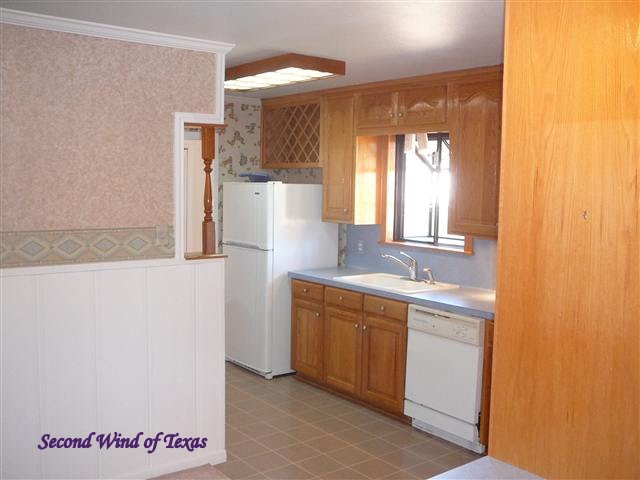
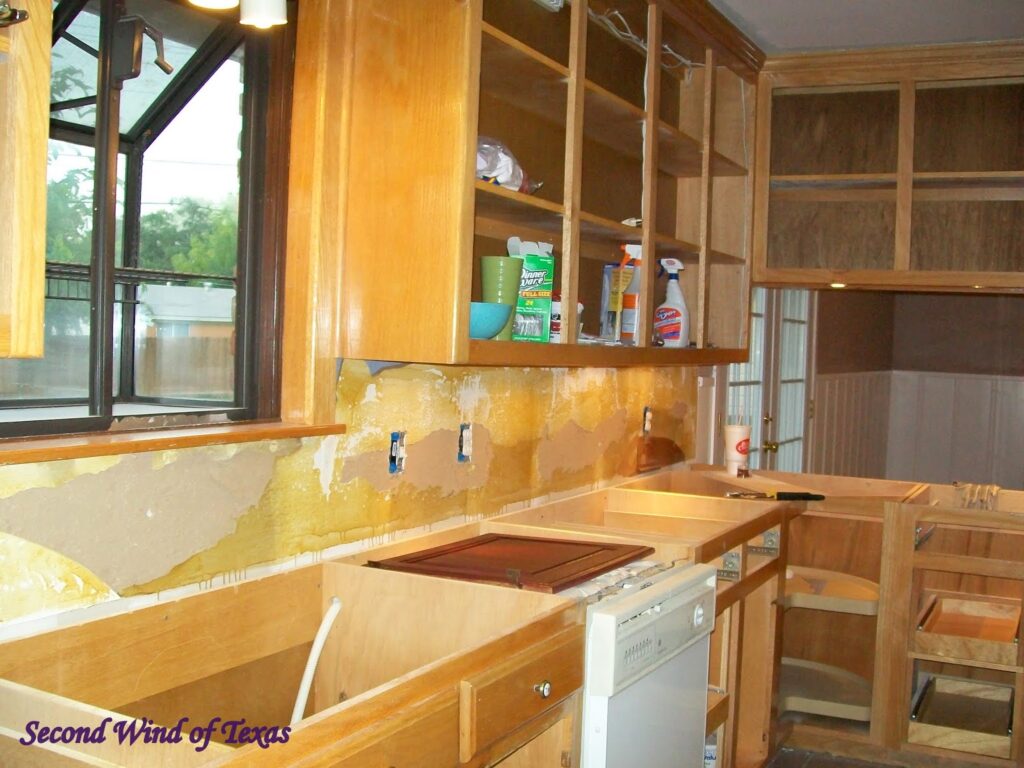
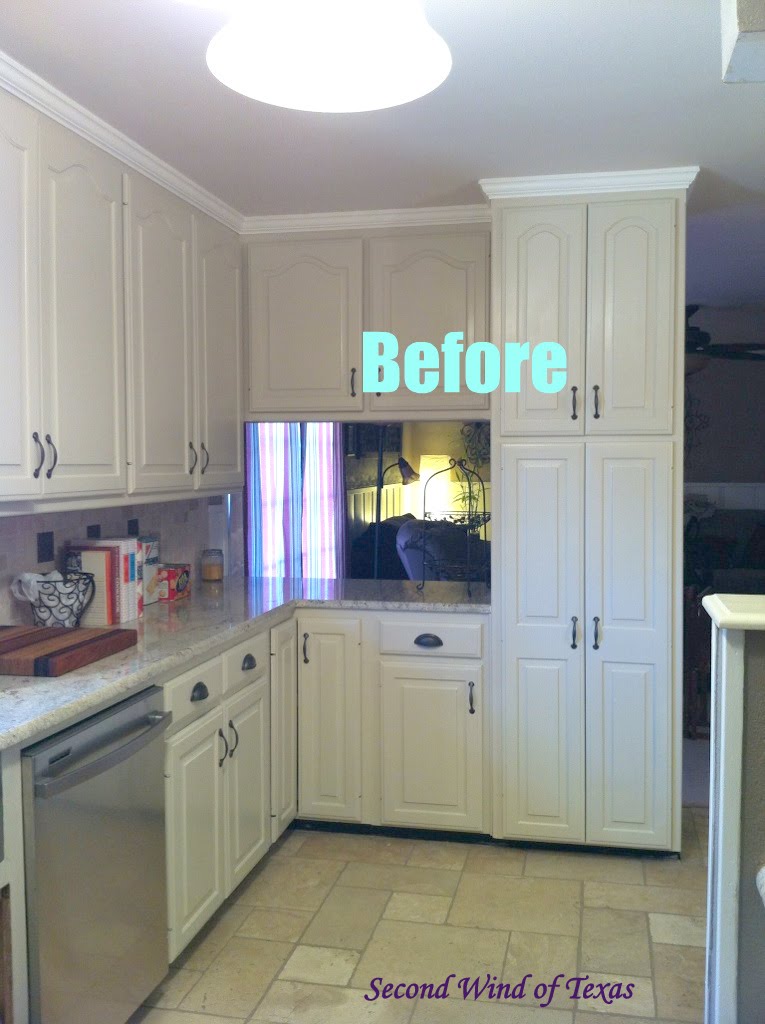
The kitchen in our house was my very first renovation project ever. Now, two years later, I think I can say it’s done. I’ve mentioned before that the kitchen is a sore spot in our house, but after this past weekend that can all be put behind us as we ride off into the sunset of domestic bliss. Too much? Don’t care…because I’m walkin’ on sunshine, baby. Here’s what it looked like before:
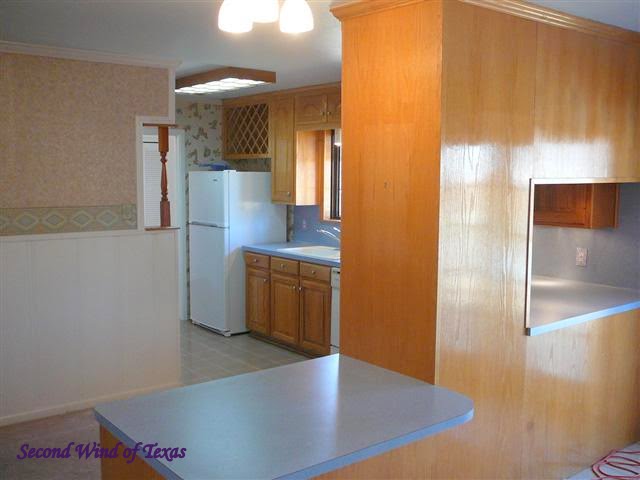
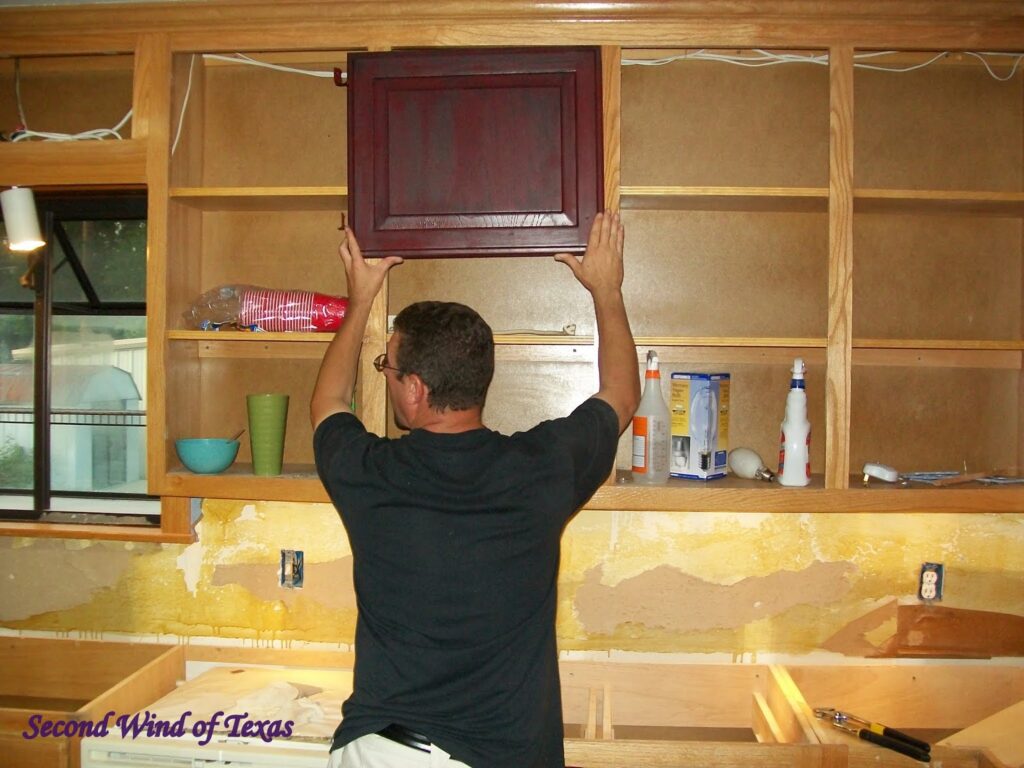
This cabinet/mini island that jutted out into the living area, leaving a small, lonely patch of carpet in the middle of the room that you can’t do anything with.
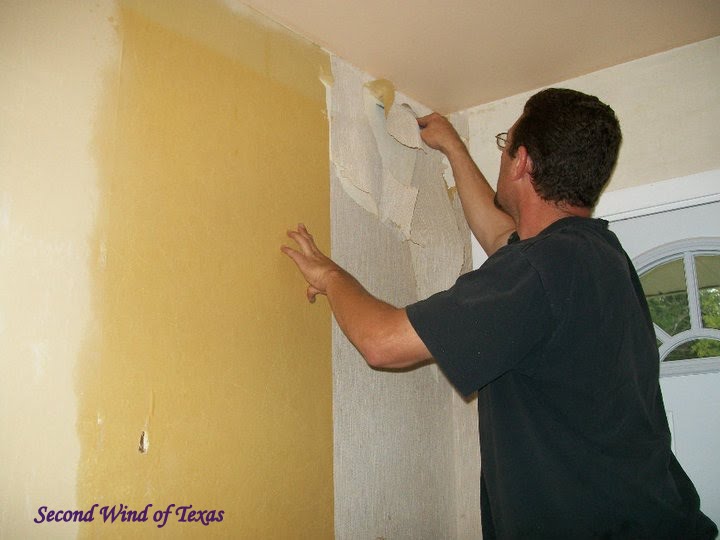
It sported a lovely Santa Fe wallpaper and florescent lighting, which really highlighted its dirt colored linoleum floor and 1980’s oak cabinets.
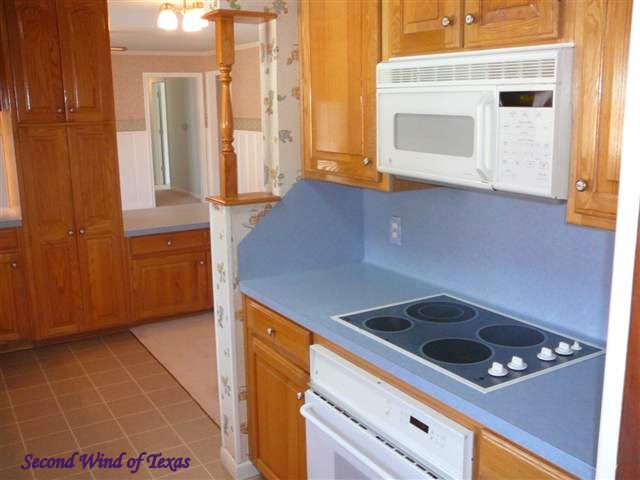
And we can’t forget about its blue Formica and matching cook top. I believe the wallpaper in here was showcasing water wells and little buckets, if memory serves.
It all had to go. Blackmon Family Motto: When in doubt, destroy everything.


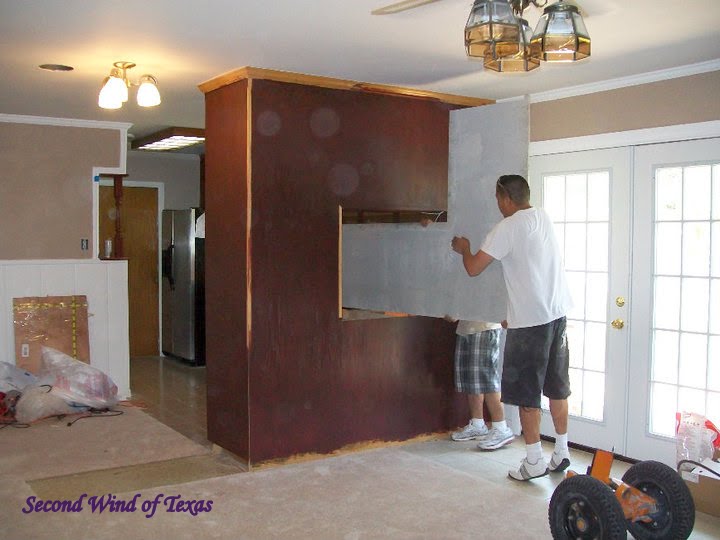
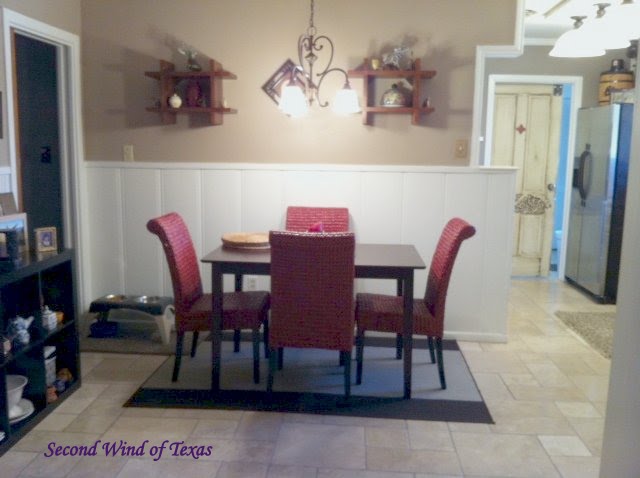
We ripped out that cabinet and a big square of carpet to make a small dining room. Mark repaired some damaged wood, and built it back up.


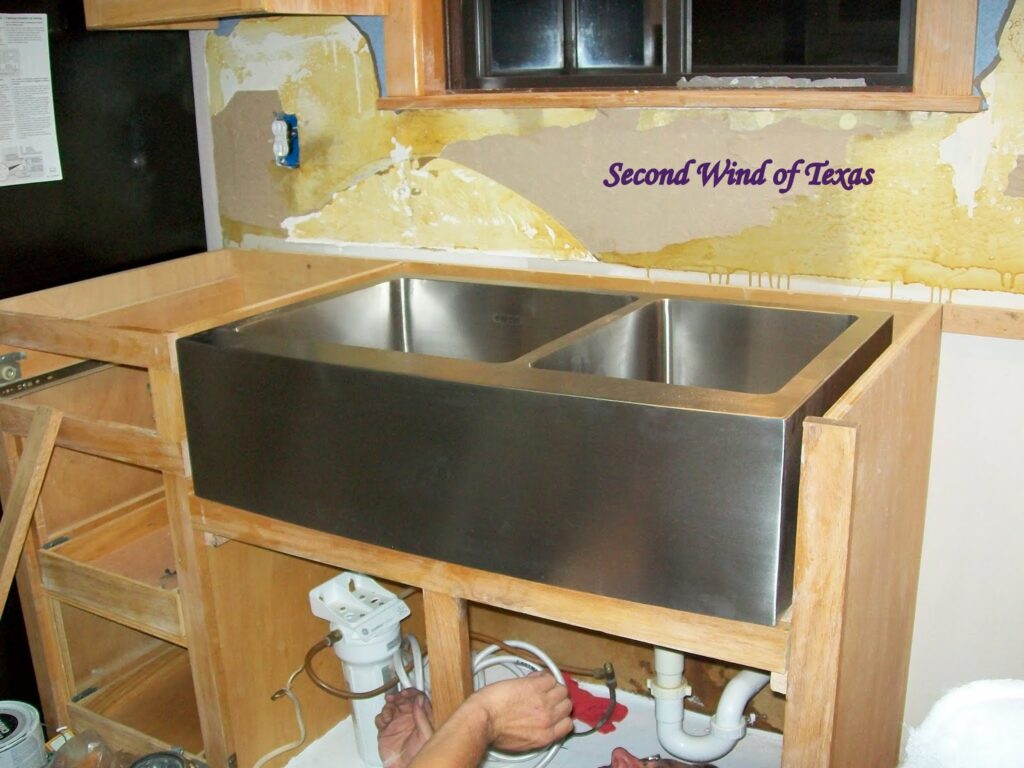
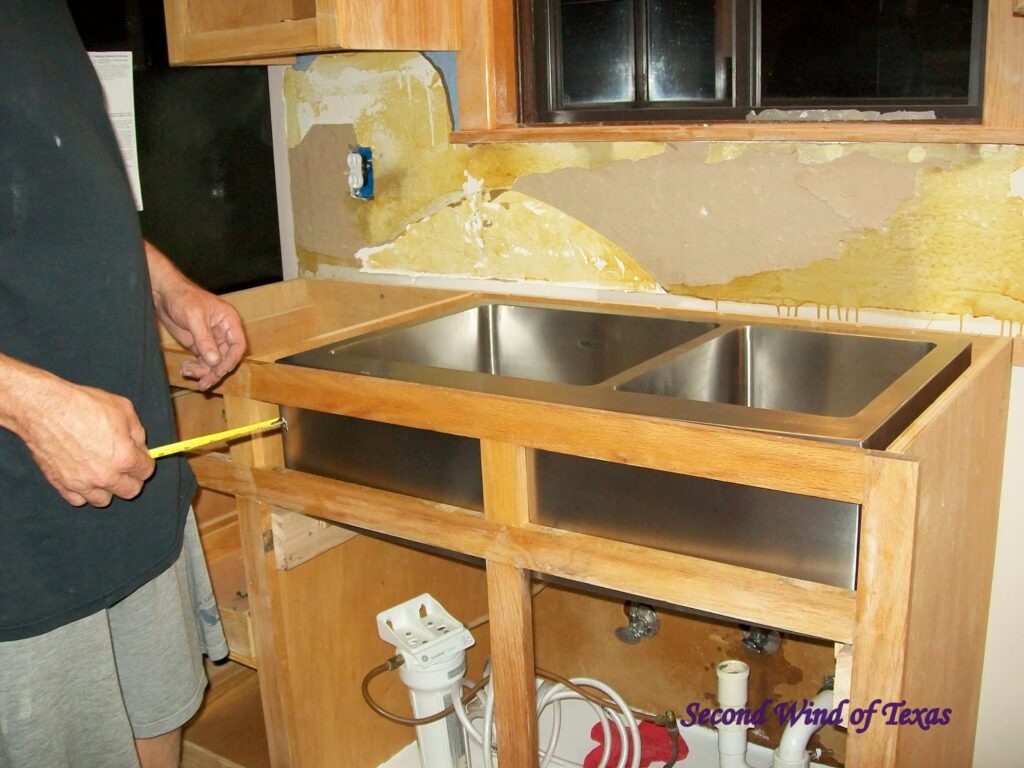
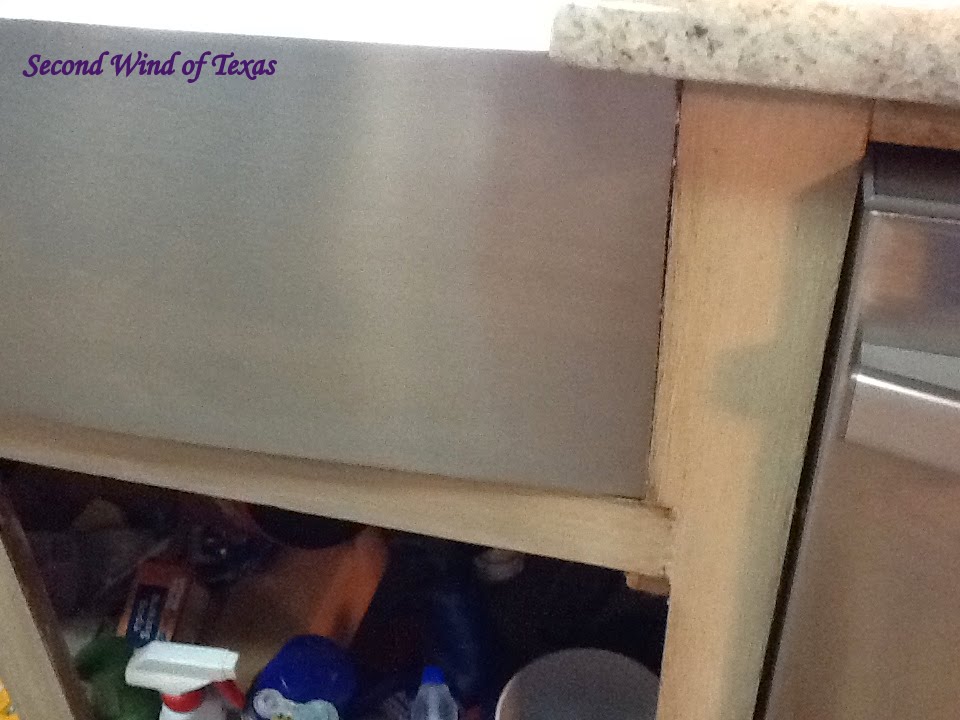
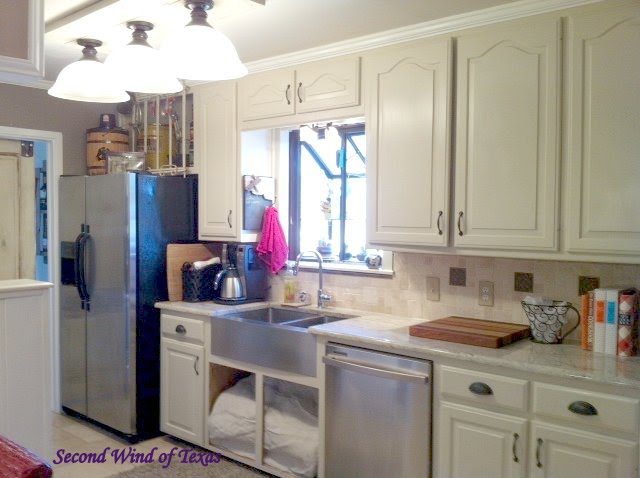
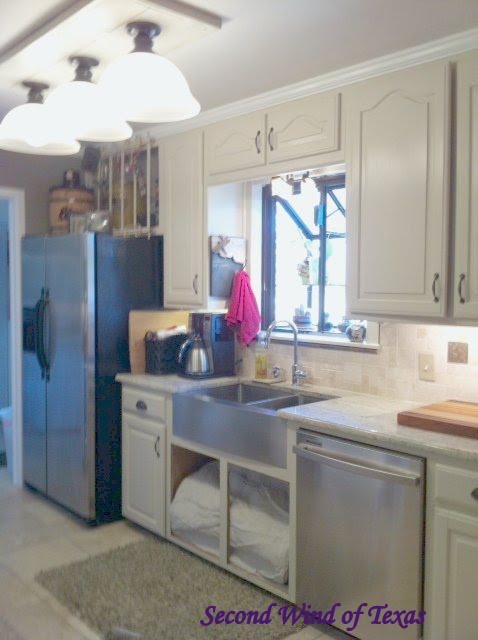
We ordered this farmhouse sink online. This and the faucet (which the sprayer comes out of the tip) was only around $600. The only thing I wish is that I had ordered the single basin instead of the double. See where the basins separate? When I move the faucet to the little side, water goes along the top instead of over the side.
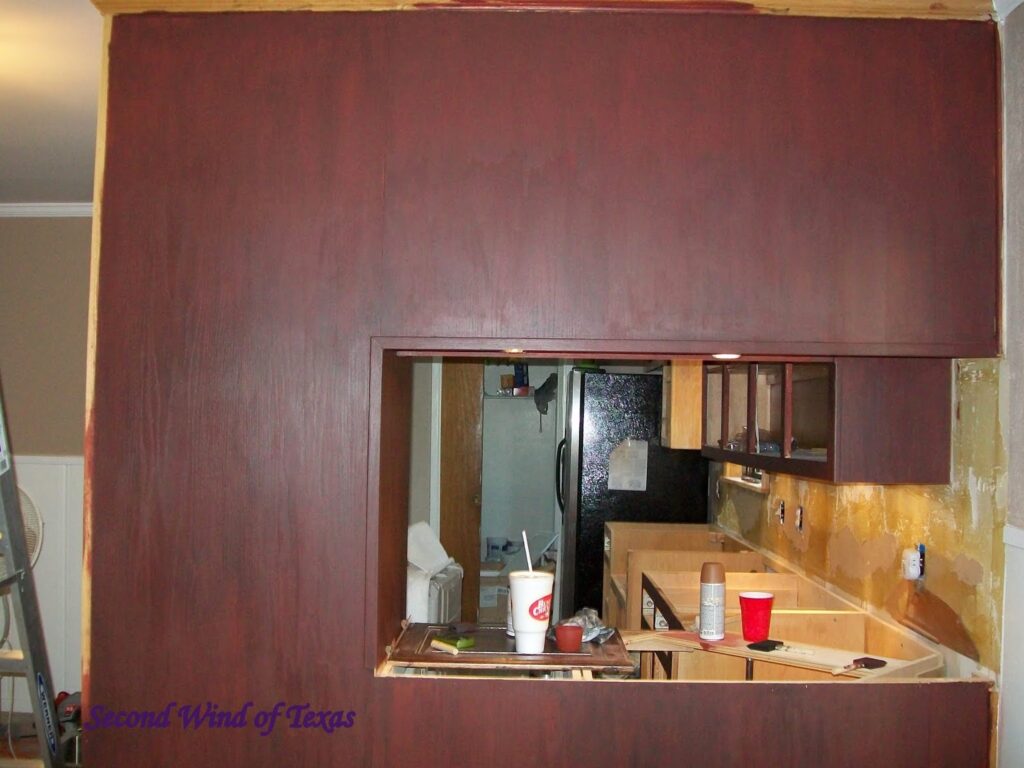
Then came my color catastrophe. I wanted to match the maroonish flecks in our granite with some faux painting techniques I had read about. Now, of course since I had never tried this before, I was going to have to practice on my entire kitchen.

It looked better in person. But the granite came and I decided I hated it. So, I started working on other stuff while I thought about it.
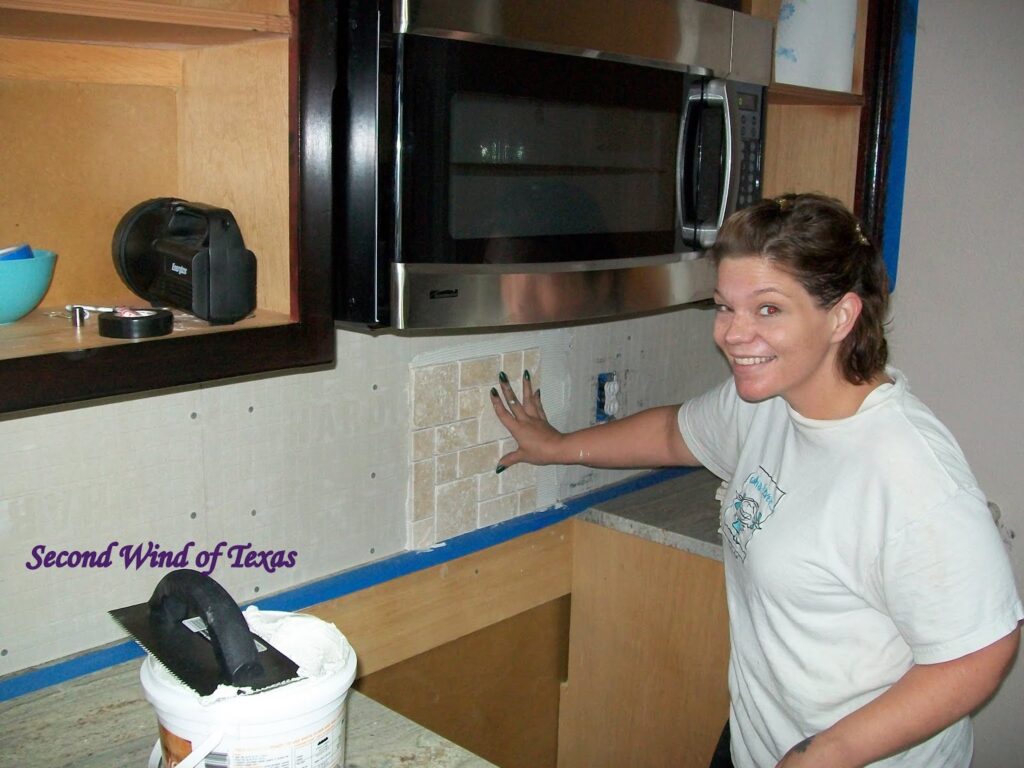
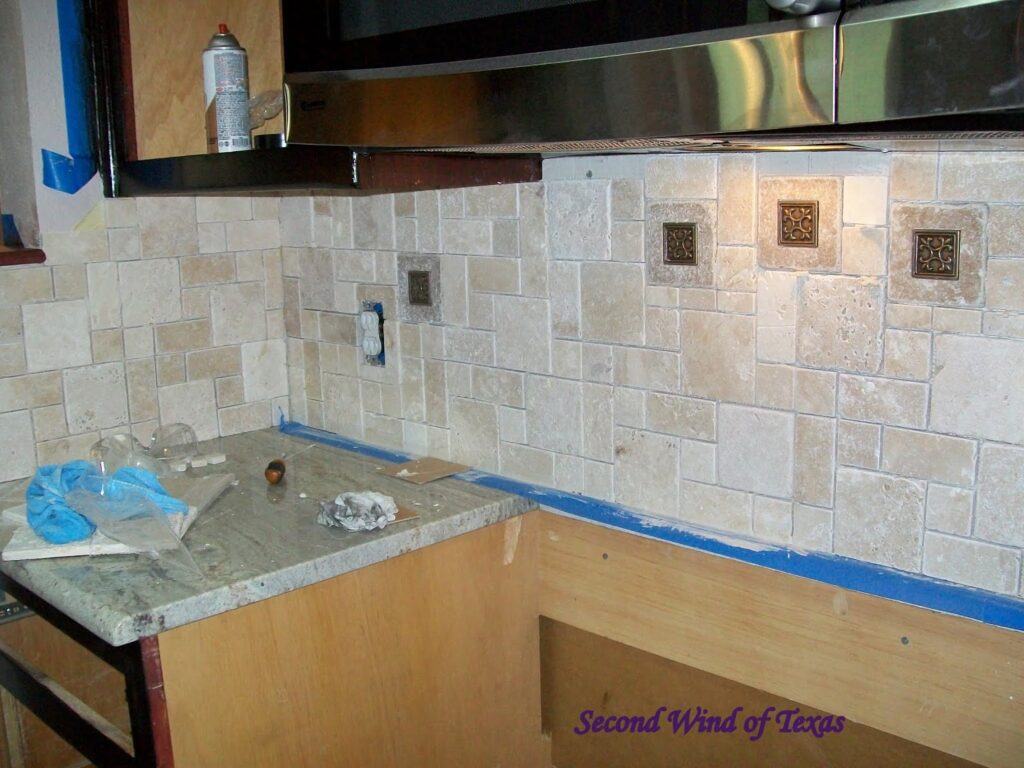
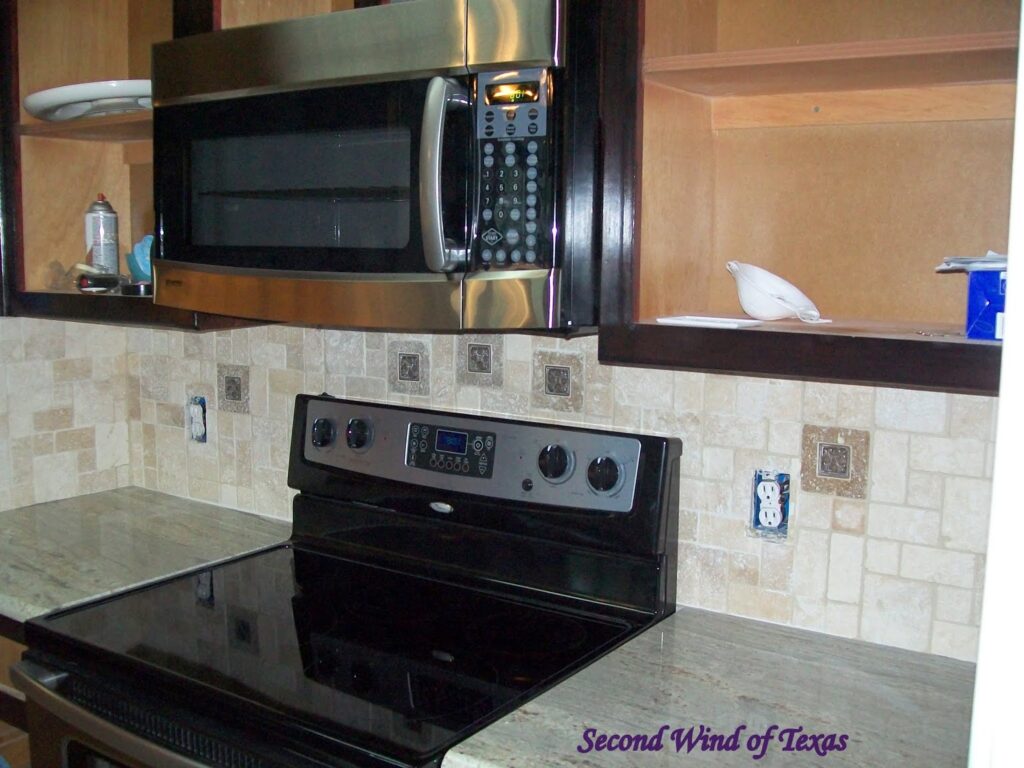
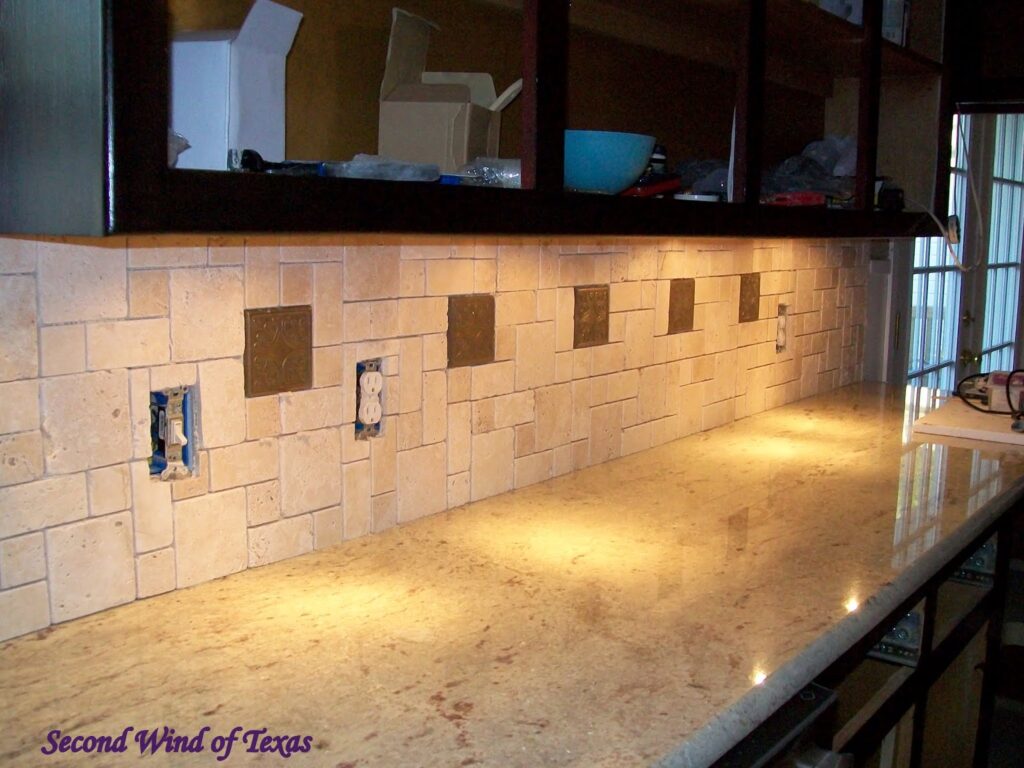
Hello! My very first tile job…
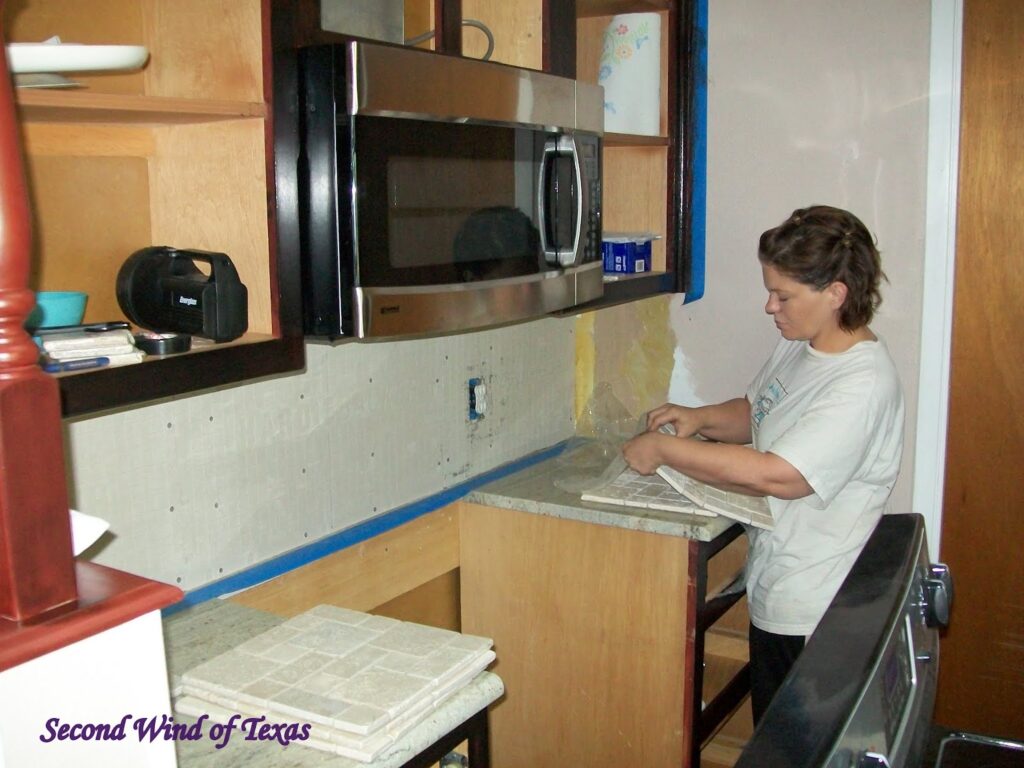
The tile saw gets me every time…


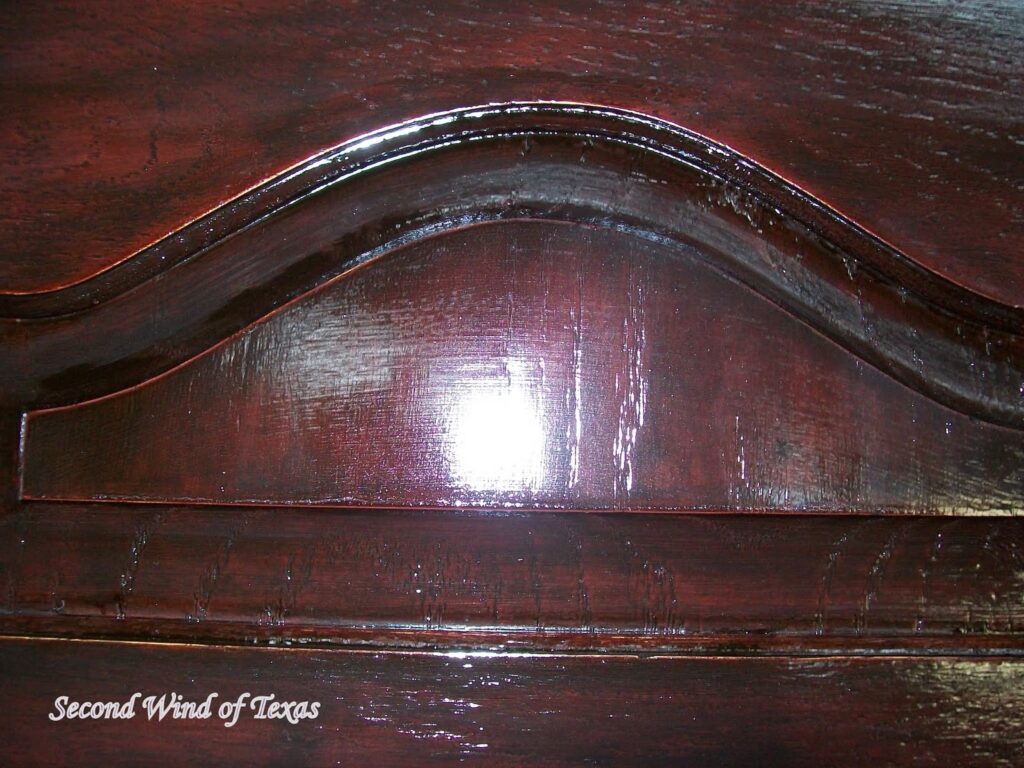
In the middle of this, I decided on an espresso color with just a hint of red underneath. It was pretty, but it was dark. With the cabinets going all the way to the ceiling, it made the whole kitchen dark.

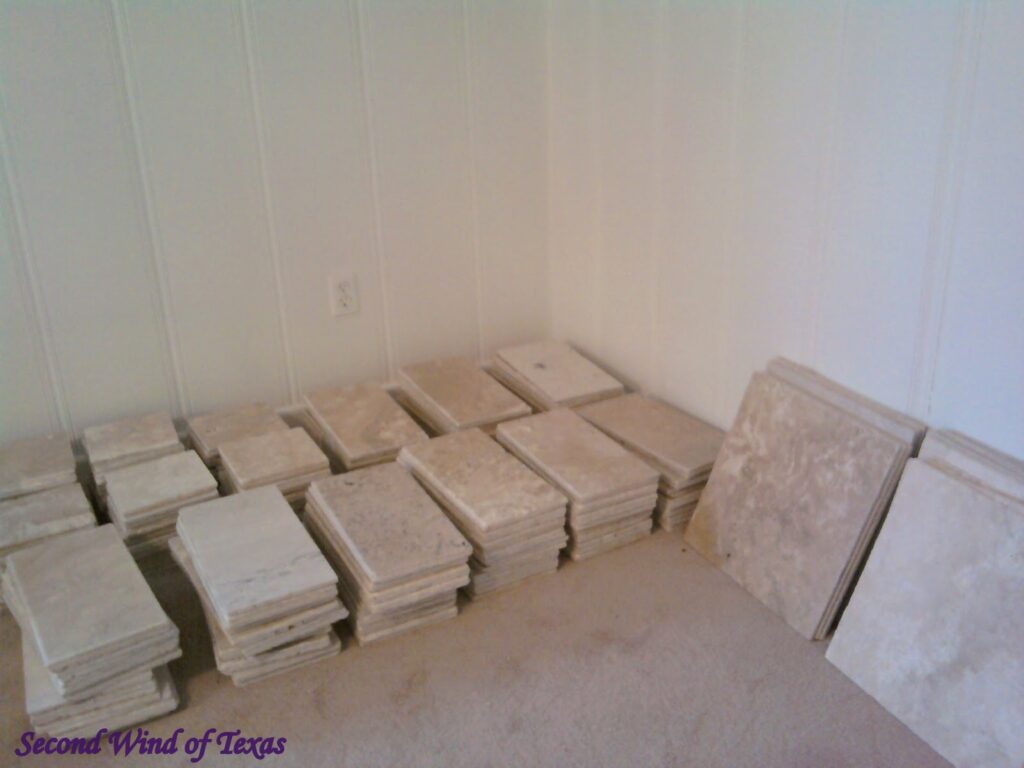
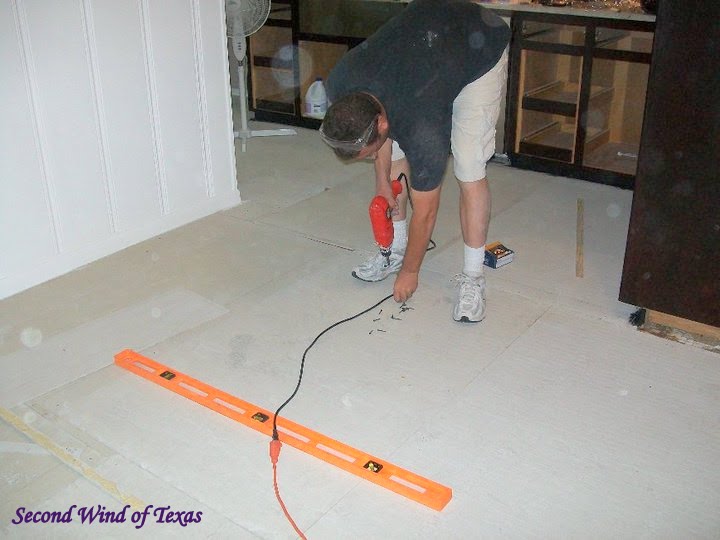
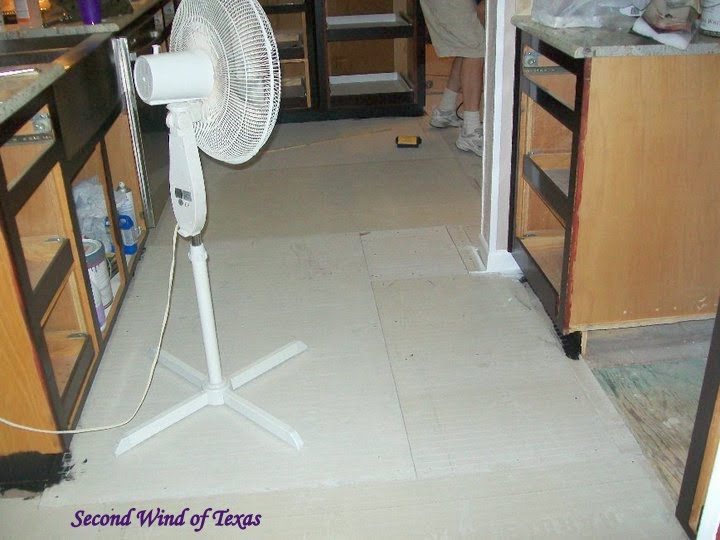
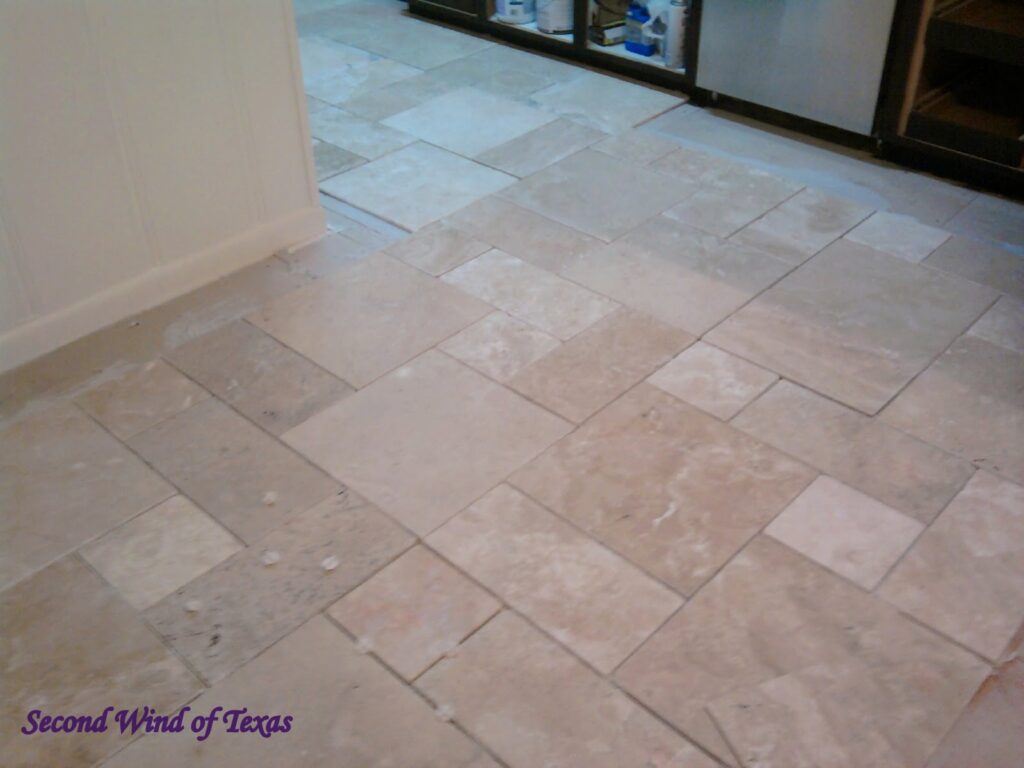
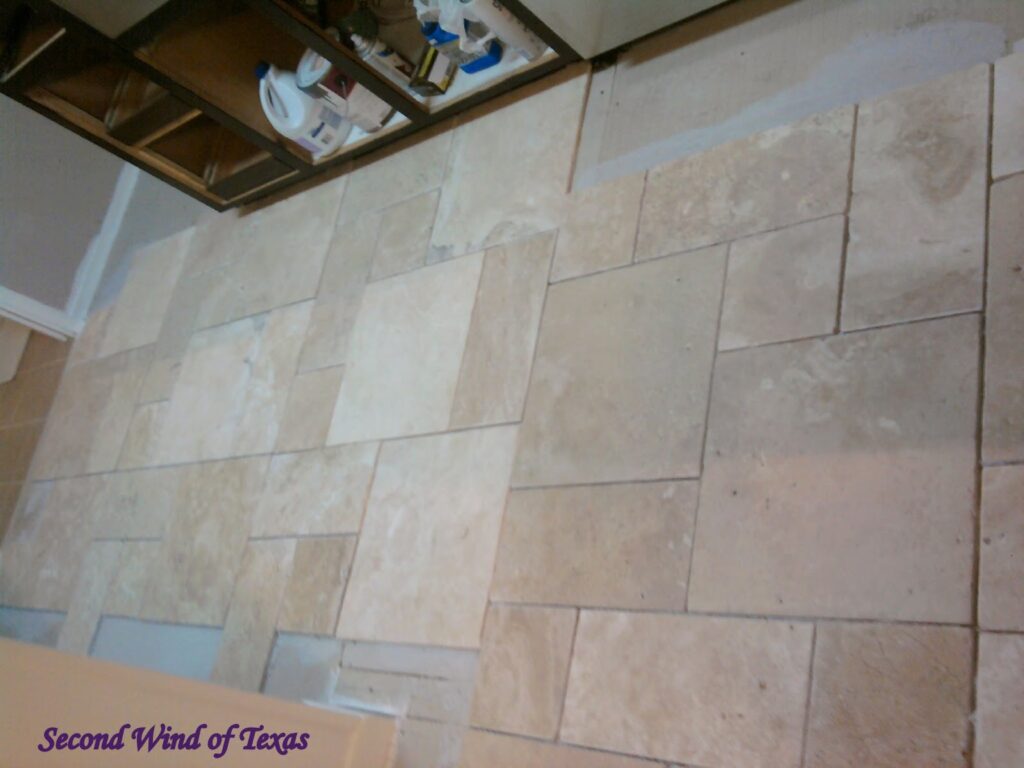
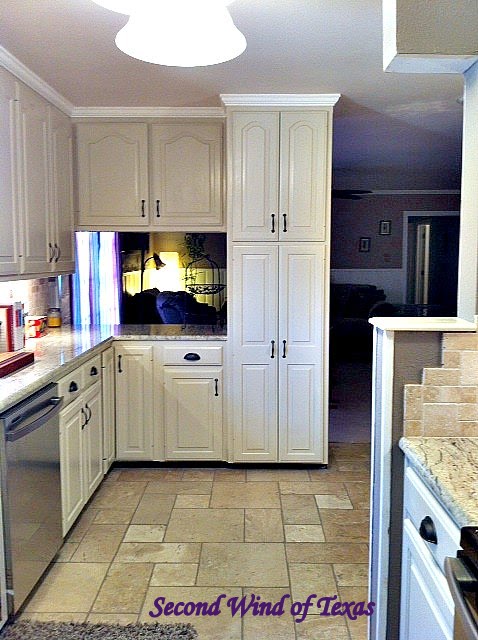
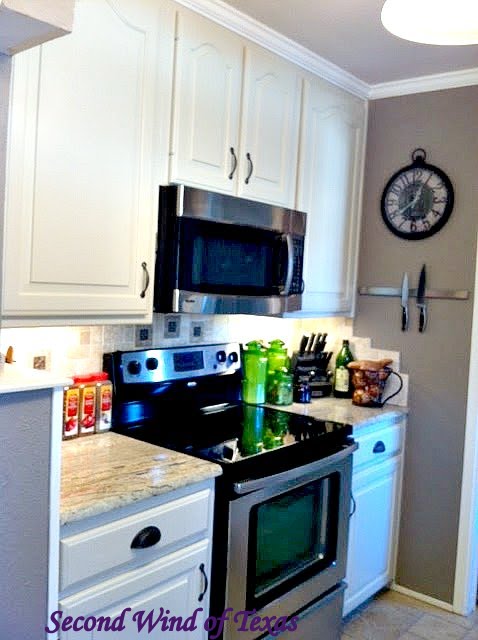
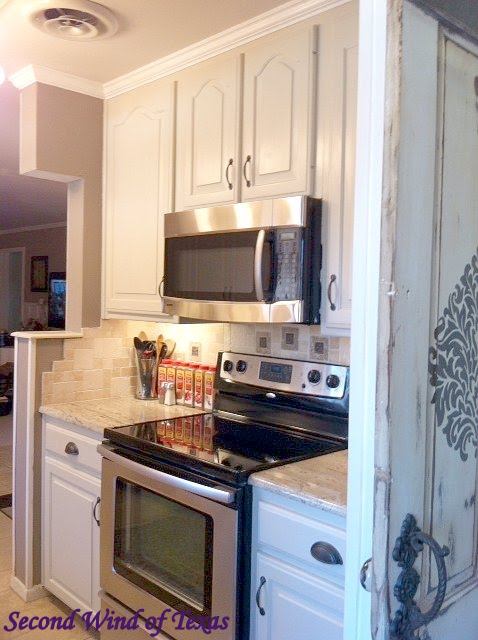
We found the perfect floor tile at a discount tile company. It was a compete accident that the pattern matched the back splash, but we’ll keep that our secret and let everyone think I planned it that way. We went right over the linoleum with concrete backer board. I just recently found out they make a product that comes on a roll for this. It’s more expensive than backer board, but if you’re just doing a small area it would be worth it.
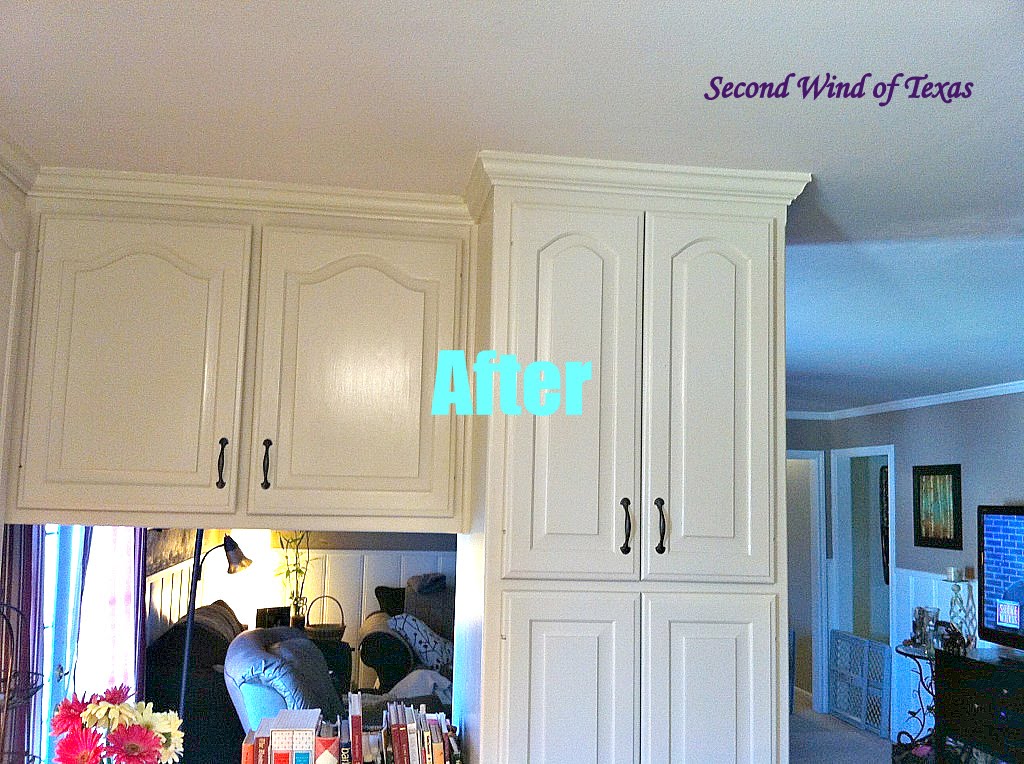
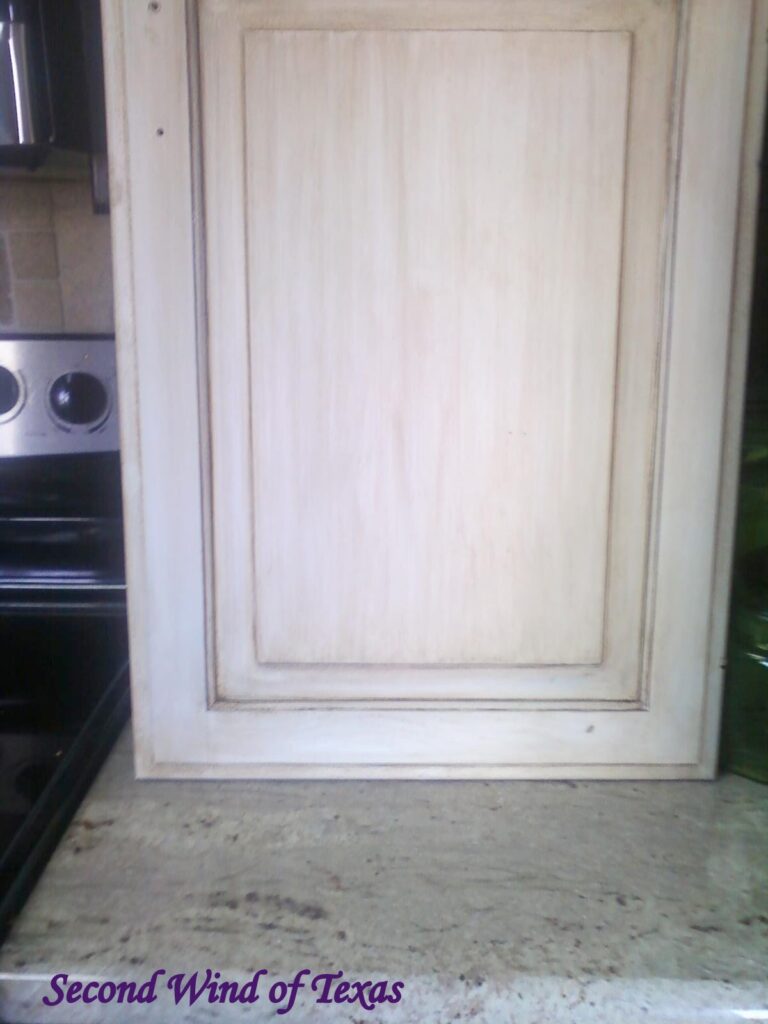
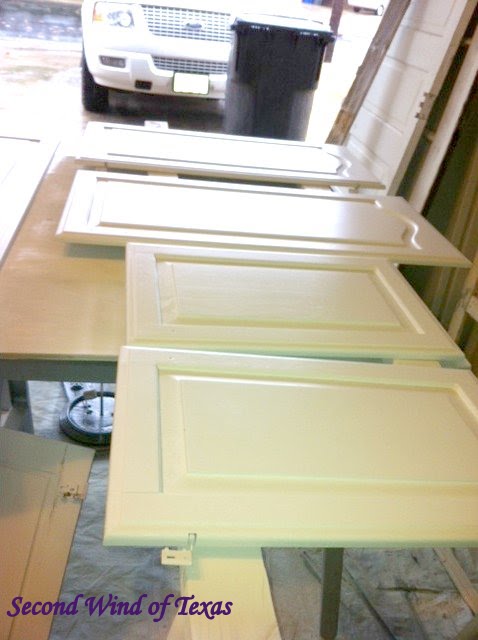
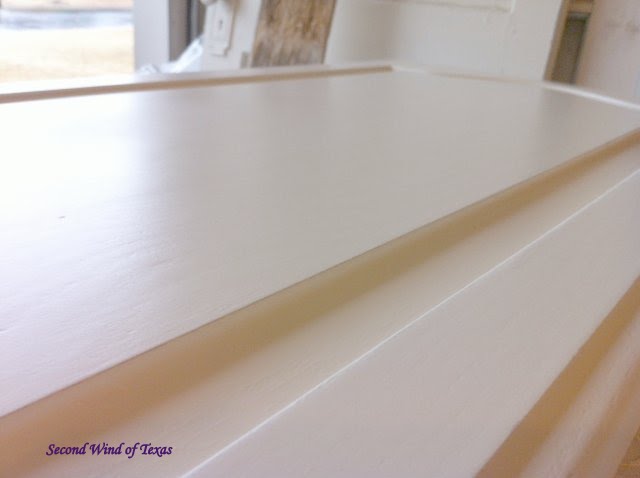
As soon as the kitchen was done I decided I wanted to change the cabinet color again. I wanted a cream. The perfect cream. Only, I was having a hard time finding it. All of the ivory’s, off-whites and creams were too white once they were in the kitchen. This is what I wanted:
After trying my hand at glazing them (again) this was what I was getting:
Shortly after this project, I finally figured out how to glaze correctly, but at this point I scrapped it and repainted a base cream. And for the next 6 months, my husband got to look at this:


I got tired. I was tired of dealing with this stupid kitchen, I was tired of fighting about it, I was tired of painting, and I was tired of being tired.
I worked on other things. I helped friends remodel their bathroom, I had foot surgery, and when I healed from that, I remodeled my friends living room.
Then, one day…I found it.
I was at Benjamin Moore bugging the guy about my kitchen color, again. I was going through pictures of creams I wanted him to look at and tell me what color that was, again. He was telling me he can’t tell from the photo on my iPad, while looking at me like I was insane, again.
Then all of a sudden he said ‘I think I got it!’ He ran to the back of the store and pulled out a color sample from the drawer. It was called Jute. As I held it in my hand, the sky opened up and light shone down from the heavens as angels sang their choir of…ok, never mind. I thought it looked pretty, so I went home to give it a try. It was perfect.
I brushed it on the base cabinets but for the doors, my husband got me the best present a girl with paint issues can get. This baby:

Look at that sheen! This is seriously the best sprayer I’ve used. We got it on sale at Home Depot online.
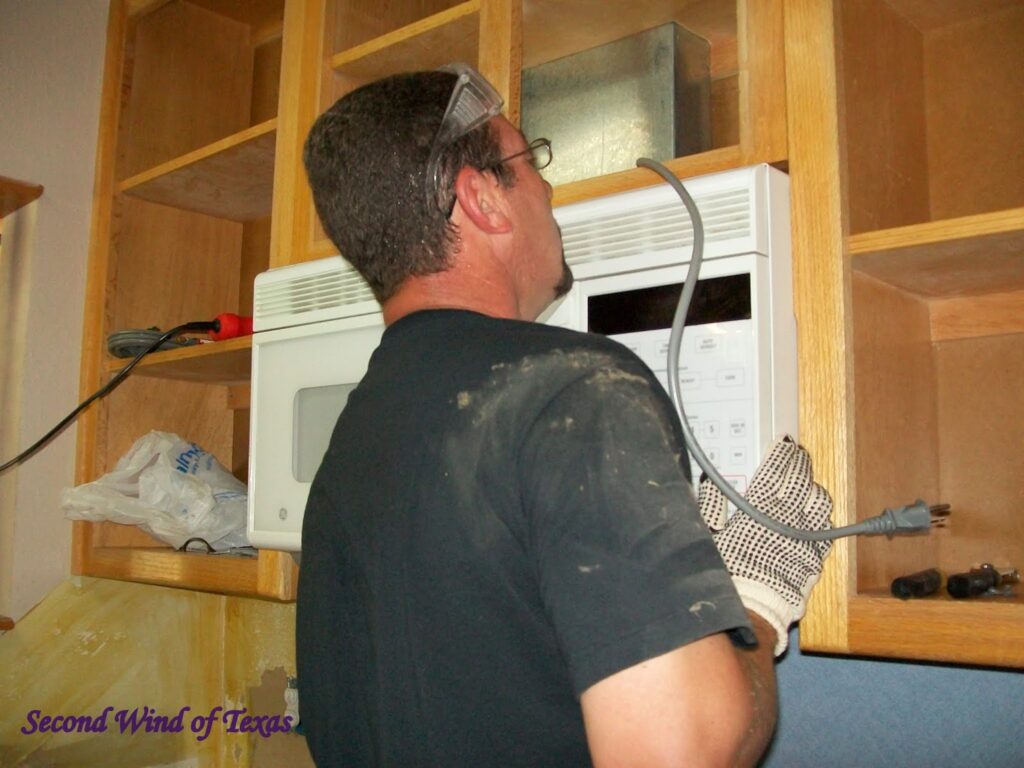
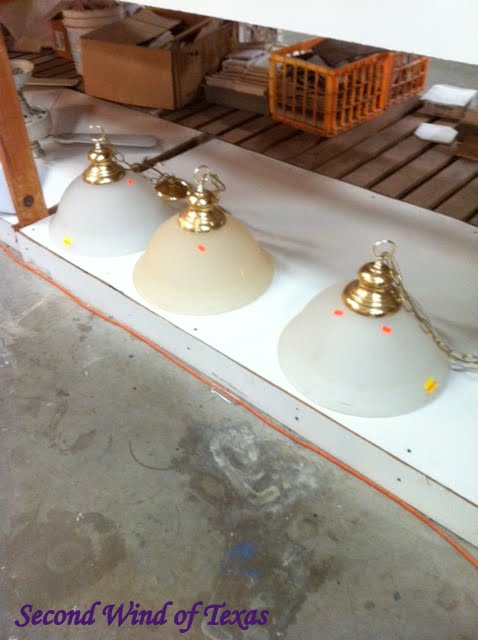
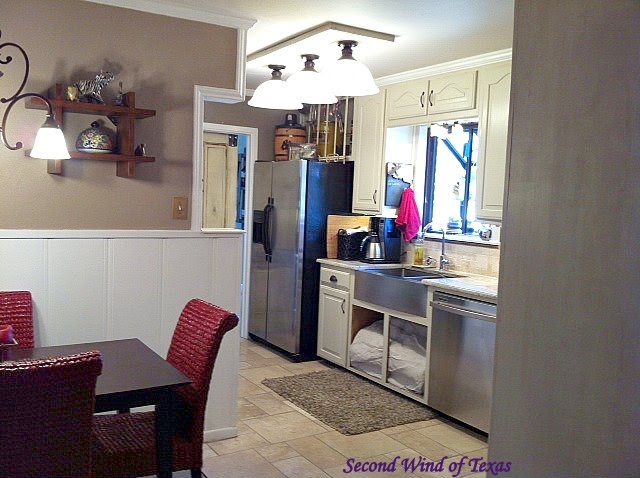
Next, Mark helped me make and install this light fixture to replace the ugly florescent one.

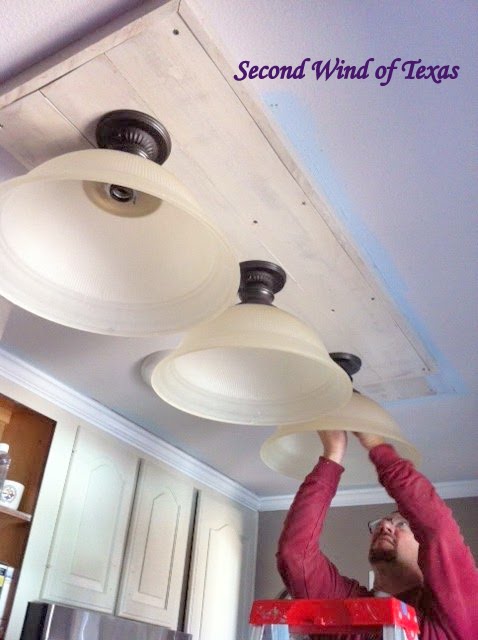
I made it from these retro beauties I found at the ReStore…
Mark did a bang up job moving the light and plugging the hole!

Aside from needing the two doors that go under the sink (we had to modify the cabinet for the sink) and those are on order, I’m calling it done!
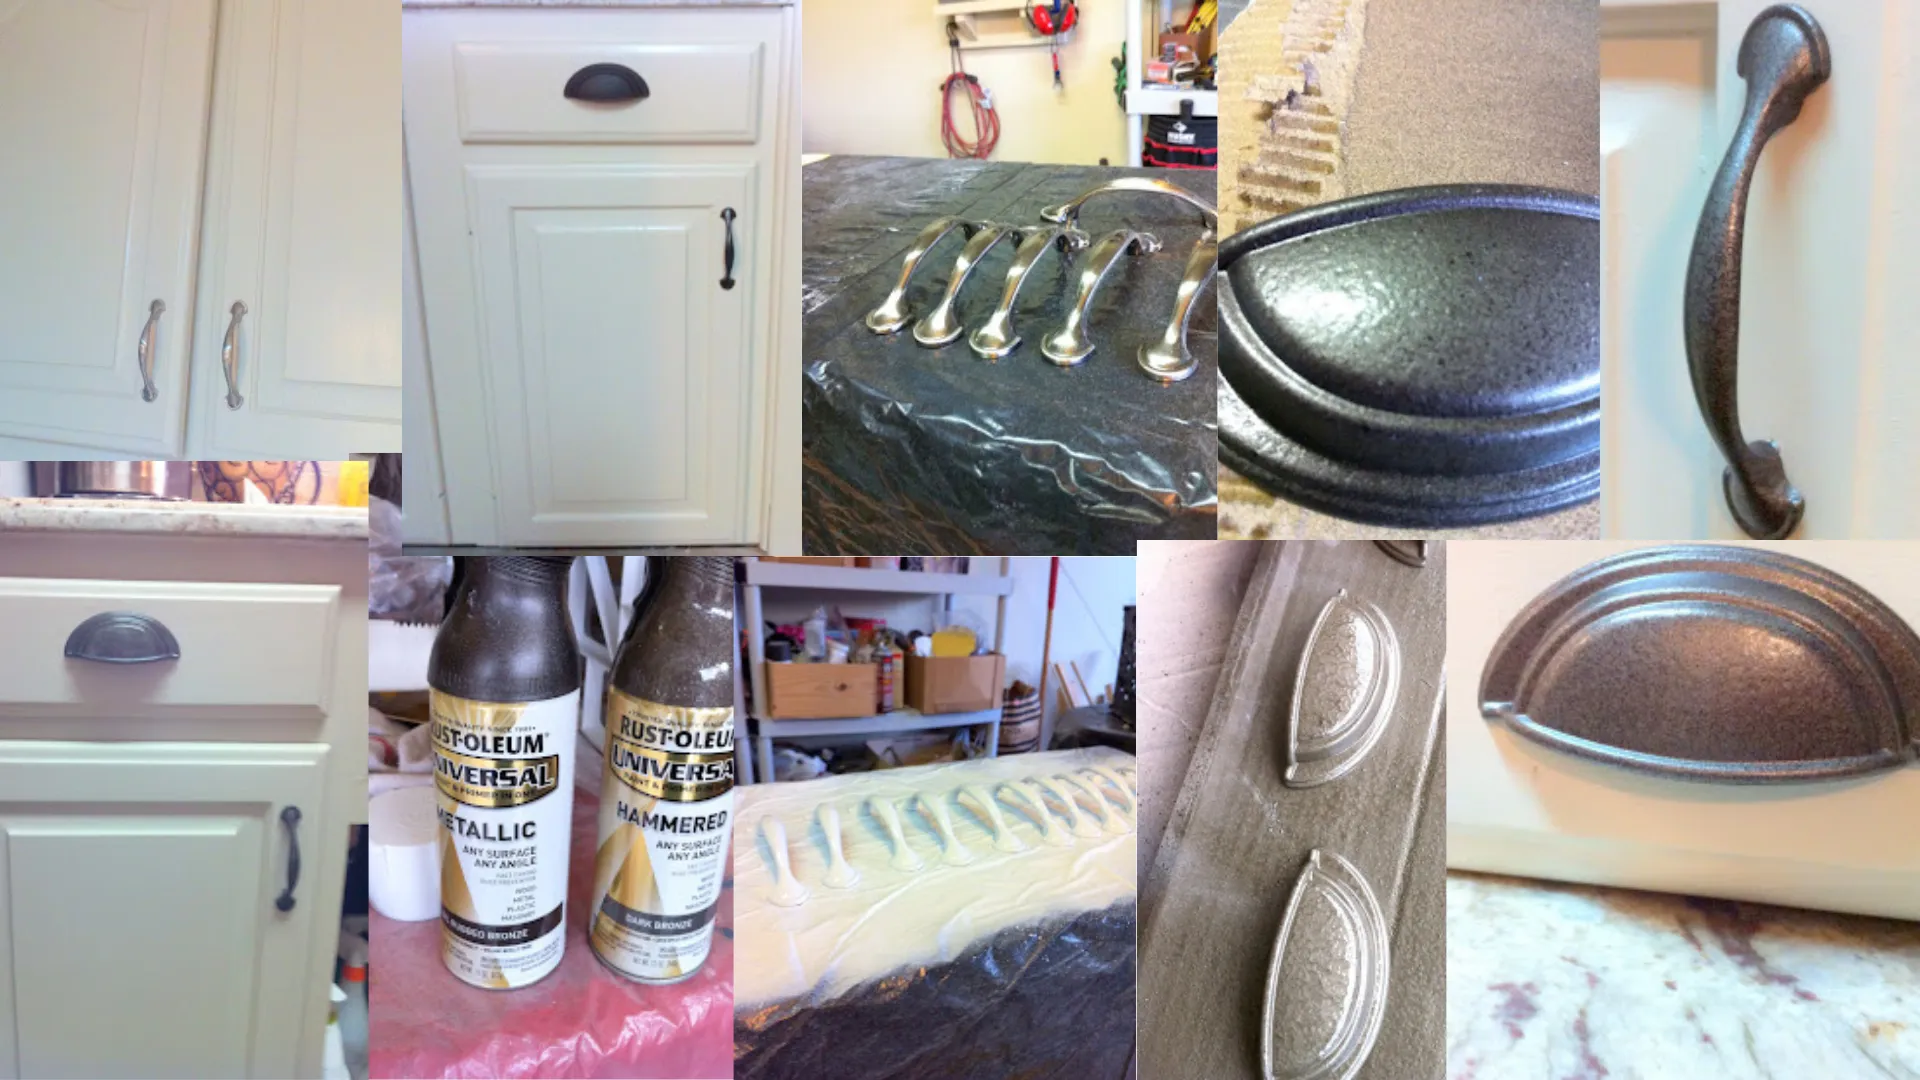
I thought about painting the crown molding the same as the cabinets, but it’s all attached to the living room and I think a switch in color mid-line looks funny. I don’t know…I’m still thinking how to do it and make it look cohesive. But the hardware looks fabulous!


My husbands treasures found a home… And this house is finally becoming one.
UPDATE: I had Mark go ahead and paint the molding above the cabinets. I don’t know what I was worried about. It transitions just fine. 🙂
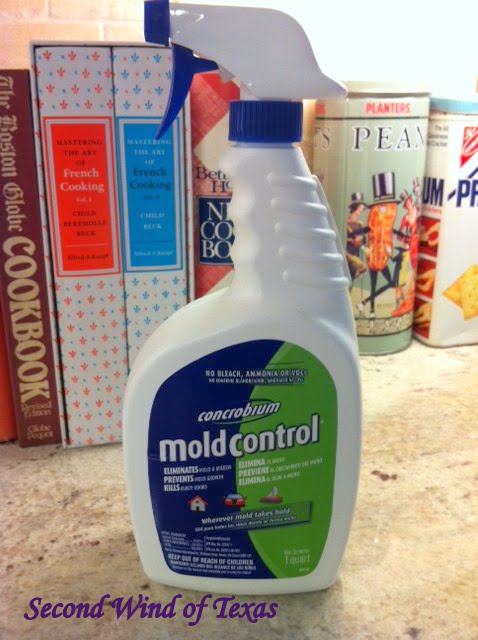
One quick thing I want to mention before I leave, is this cabinet. This held up the process of the kitchen as well. It is known as the stinky cabinet. It smelled like vomit.
Seriously. Like vomit. And it was permeating into other cabinets when the doors were on. I tried everything to get rid of the smell. I bleached it, pine-soled it, used 3 different kinds of primer, tried cat litter, coffee grounds, vinegar and newspaper, vinegar and baking soda, and we even rented an ozone machine! After 2 days of being at a hotel, we came back to find it still stunk! Everything I read on google was saying it was some kind of tree rot that cabinet makers don’t know they are dealing with until it’s too late. We thought the whole cabinet was going to have to be ripped out. That wasn’t an option, so it sat. Airing out.

A few weeks ago I found this, and decided to give it a try. I sprayed the cabinet and the surrounding ones pretty good. We’ve had the doors on for about 2 weeks now, and no smell! I can’t believe it. It’s also good if you have furniture that smells musty.
You can buy it by the gallon and rent the fogger it uses (not at Home Depot in Waco-others might have it, or call a local small equipment rental place) and fog a basement that smells musty or even had a mold issue. It not only eliminates smells, it goes after the source. I can’t say enough good things about it.
And that’s about it! Thanks for joining me and reading about the kitchen that stole 2 years of my life!
Y’all come back soon.
Cheers!
Jodi


6 thoughts on “From Formica To Fabulous – The Never-Ending Kitchen Renovation”
I came across your blog when I was looking for ideas for my own kitchen. What you have done is amazing! It has really inspired me to get started on my kitchen as well. That tile is amazing and the dining area is soooo cute! The barn door is a great touch also! What’s your favorite part of your new kitchen? Can’t wait to see what’s next!
Wow! Thank you, that is really nice. It’s hard for me to say what my favorite part is. I looked around when I read your question and I can’t put my finger on one specific thing. Every inch of this kitchen has either my blood, sweat, tears…and in some places, all 3! I have to love it all because it’s my baby. Follow along because there is a lot more to come! Thanks again.
Normally i don’t post on blogs but I had to ask. What kind of tile is on the floor? I’ve been looking for something unique for my Master bath and I absolutely love yours! Did you get just random sizes and make a pattern out of it?
Hi Janine! Thanks for asking. It’s an unhoned tumbled travertine. The pattern is called Versailles. It comes with enough of each size to make this pattern. They are:16×16, 16×7.5 and 7.5×7.5. I don’t recommend getting unhoned, epically in a bathroom. It would need a lot of extra sealer. It’s also more brittle in the state we got it. Lesson learned. 🙂
Thanks for the quick response but remember we’re newbies like you were once. Didn’t know what unhoned meant. Had to google that! Lol! Anyways me and the hubby went to Lowes and found the unhoned like you have and the store helper recommended the honed type for bath use. It’s so gorgeous AND EXPENSIVE!!! You must be RICH! Lol! It’s about the size of your master bath (beautiful by the way) and it was gonna be over $300! That’s just the tile! It’s called Pacific something….12X12 tiles at 11.90 each! He said the Versaille pattern would be more. Special order he said. I guess my taste is too expensive for our budget. He recommended some ceramic tiles but it’s not what I want. Who knows maybe income tax return if I can talk my husband into it. Got any cheaper suggestions?
Lol! I’m so sorry! Sometimes I worry about putting too much info in a response and repeating things people already know. Yes, honed is what you need in a bathroom because natural stone is very porous and will just crumble over time with constant humidity.Well that stinks that Lowe’s tile was a little much for you. We got ours at a place called Discount Tile here in Waco. Maybe there is something similar where you are. Just google where to buy tile where you’re at and shop around. Ours wasn’t too bad if you consider how much we bought. We did the dining room, kitchen, and followed through the laundry…about 300 sq ft for $1400. They also had a payment plan for 0% interest if you pay it off within 6 months.
And did you mean it was the size of my guest bath? I can’t remember how many sq ft that one is, but those are cheap Home Depot tile. I’ve seen some beautiful large, natural stone tiles at Home Depot for a couple bucks each on display. I believe they were 16×16. But on their regular site they have some lovely things too. On homedepot.com type in honed natural stone tile.
With a bathroom the size you are talking about, you would probably want to scale the size back to a smaller Versailles pattern (like my backsplash which is 12×12-with the whole pattern fitting in it) or go with a nice big tile in one shape. With tiles as large as ours, the pattern isn’t showcased well in smaller rooms. Marble is one of my favorite stones for a bathroom and is always a classic. I think when we are done with everything else, I might rip out that cheap stuff in the guest bath and go with 12×12 marble on the floor and marble subways in the shower. Does this help? Let me know what you decide to go with!