The kitchen has been a sore spot in our household for about a year now. The reason being, the color granite we chose for it is a little unusual and I was on a mission to match it. I thought the cabinets would look good being a black-washed red. Then when that didn’t work out well, (ok-total FAIL) I thought maybe an espresso. No. The kitchen looked really dark and dreary. I cannot create culinary perfection in a dark kitchen.
Then somewhere in the middle I got tired.
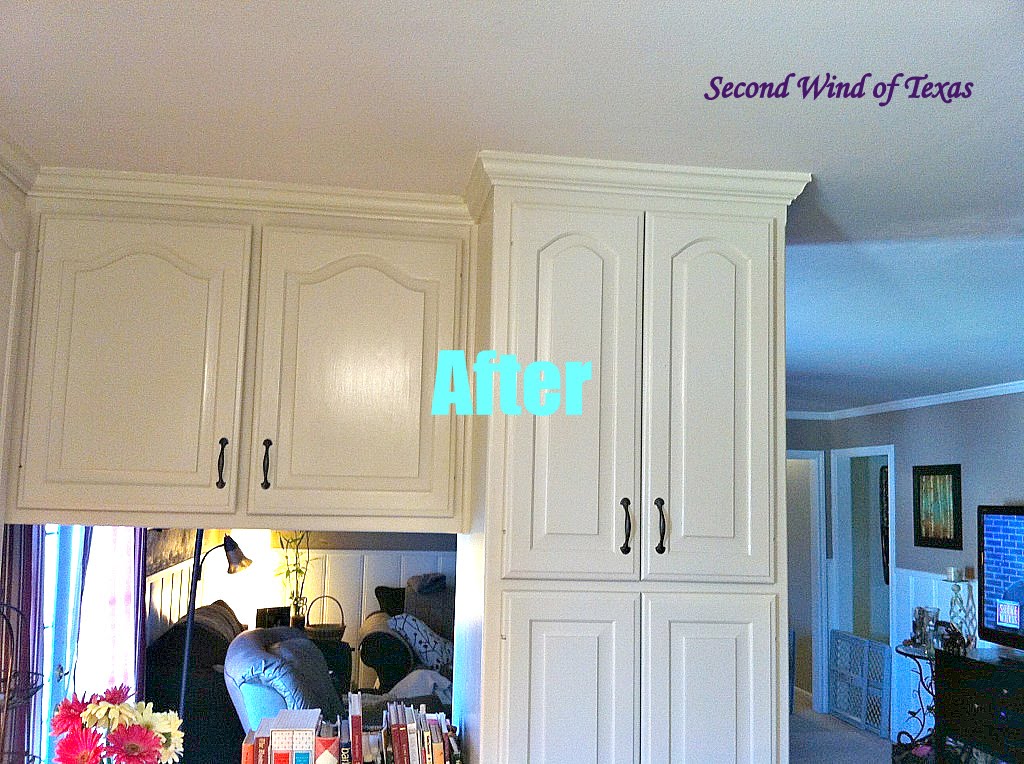
When I got motivated again, I decided the cabinets should be a cream. Not just any cream, the perfect cream. 6 months later I found it. I’ll spare you the details right now because there will be a whole kitchen reveal real soon (!) but lets just say its going to be faaaabulouuus! (in the octave of ‘Oprah’)

The problem with the cream was the brushed nickel handles (that looked so good with the dark cabinets) looked off. I don’t know exactly what it was, I just knew I hated them. I didn’t want to spend an arm and a leg on new ones—so I decided to paint them.
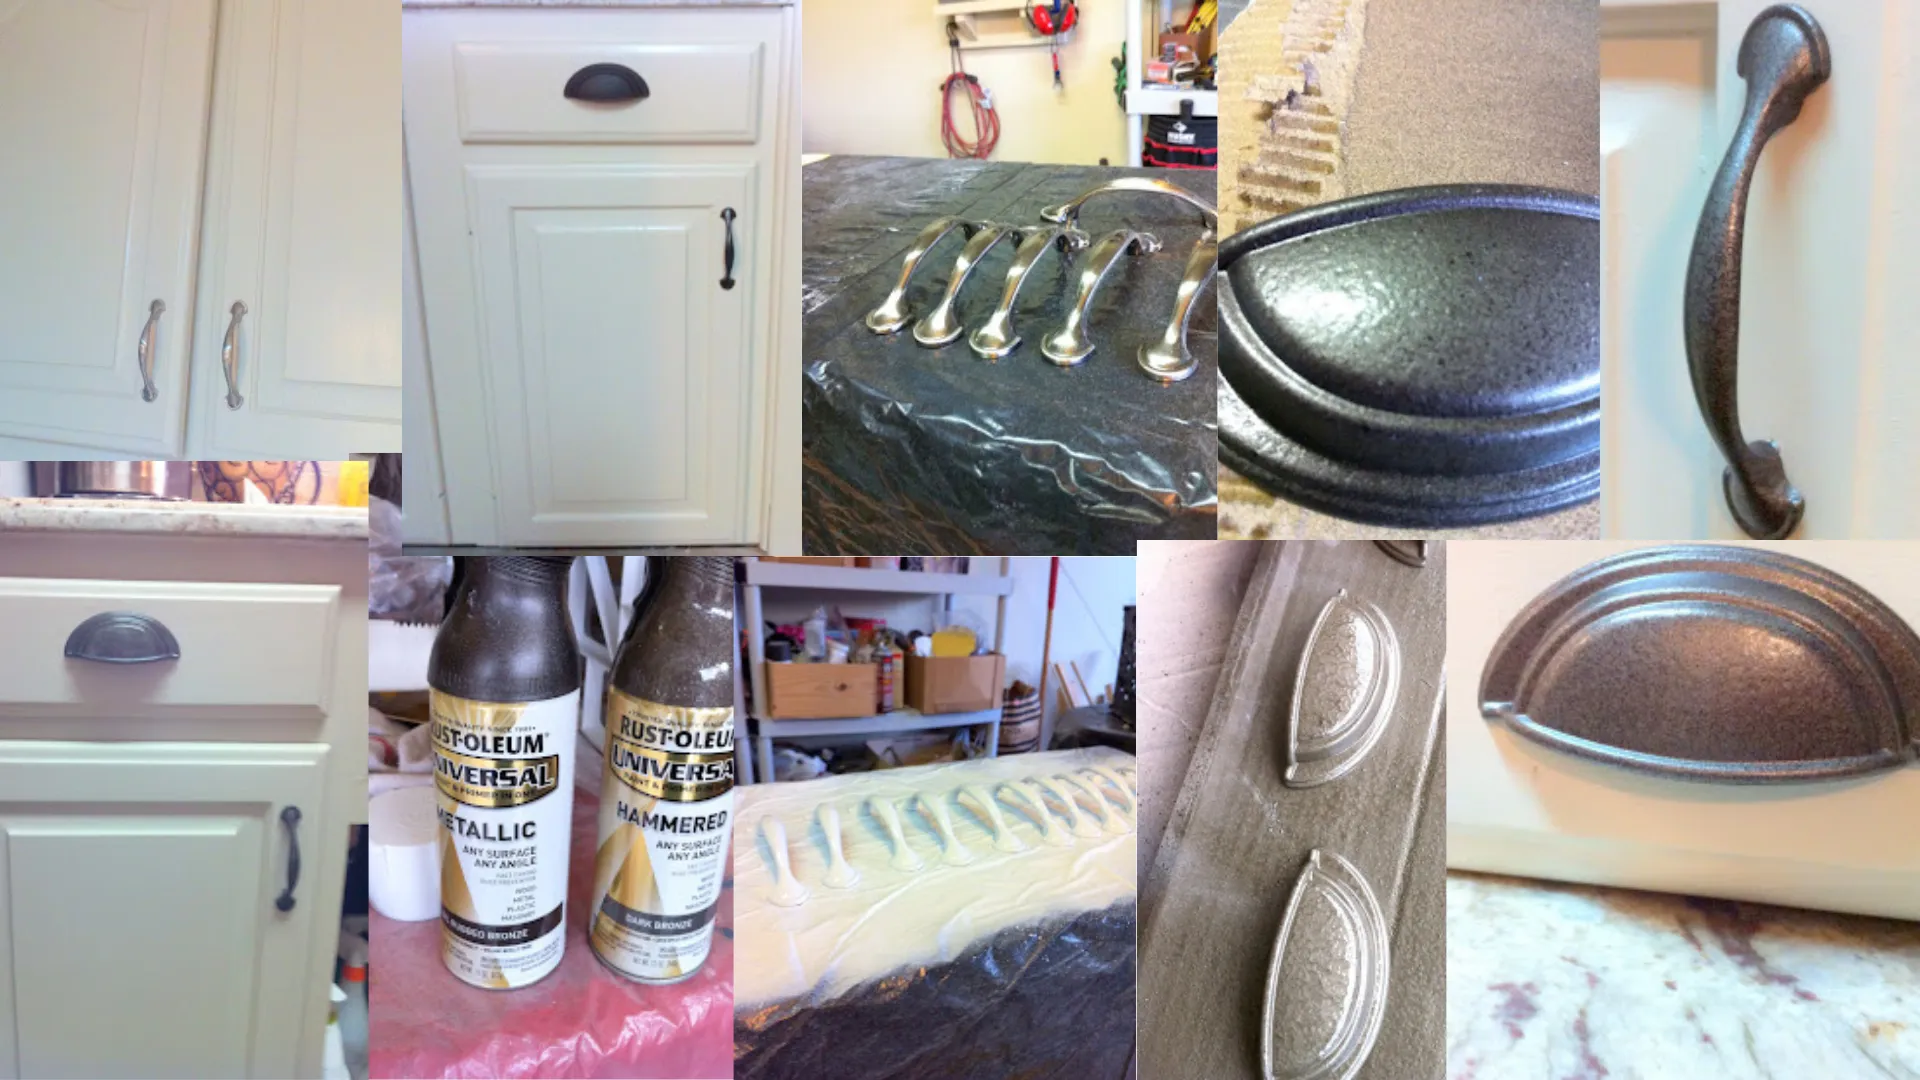
I also found new drawer cuppie-thing handles at the ReStore (for a dollar each!), so maybe the handles should match and be rubbed oil bronze…

Nope. Too dark and they stand out like a sore thumb. Maybe a hammered dark silver…

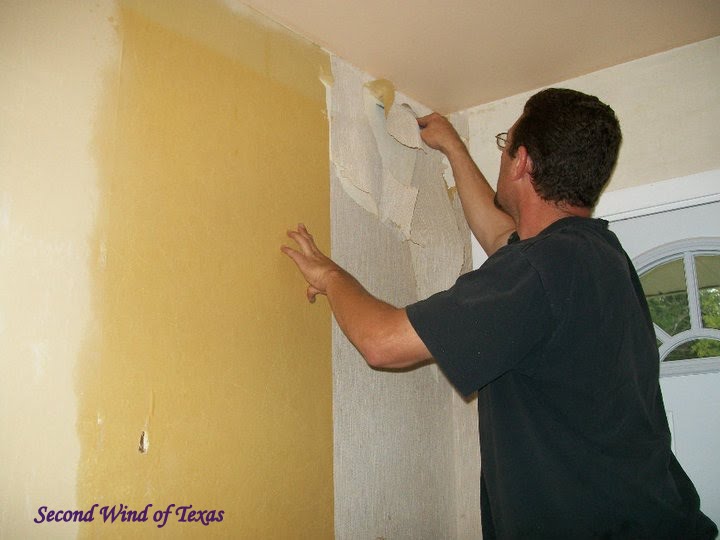
Still not right. Pay no attention to the cabinet without a door on the right…that will be revealed at a later date…
Anyway, how about the best of both worlds? I love the look of mercury glass and silver that’s just starting to tarnish. That look would be perfect for the kitchen. So I combined both paints to try and create this perfect look I had swimming in my head. And as you will come to learn, what’s in my head rarely manifests into real life.

This is what I used. I tried it both ways..the hammered dark bronze (which really looks like galvanized metal) sprayed on, then a lick of a spray of the rubbed oil bronze on top. Switched it around the other way to see how that would look, and found I liked the former better. The difference is slight, but it’s there.
First, make sure you prime and let dry overnight…


Then spray the base coat, let dry, and barely spray the top coat…


You can see that they look older. They look a little darker in the pics below. I’m having to take pictures with my phone right now to be able to upload. Something I will work on in the next weeks. But click on the pics to see the details. Instant patina! Love.


I love the way they look with the cream and the granite! I’m almost there. I’m going to go way out on a limb here and say that next week the kitchen will be ready to be unveiled!
Update: Kitchen is finished!
Y’all come back and see me!
Cheers-
Jodi