
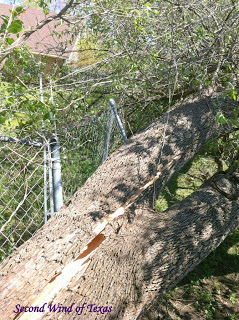
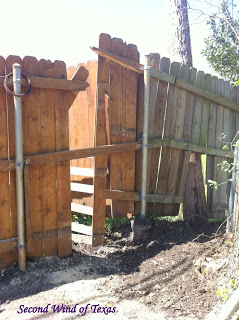
This is coming a lot later than I expected. But, look what happened here!

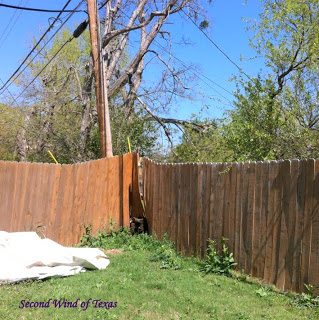
That is the root system for the neighbor’s tree that lives behind us. It was so windy last weekend, that it knocked the 100 ft tree over in the middle of the night, lifting the corner of our fence.
This is the whole tree from this side.
This is me sticking my phone through the hole in the fence.
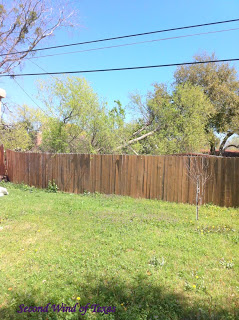
And this is after they cleaned the tree up, from that neighbor’s side.
Did you know that even if it isn’t your tree, you are responsible for the damage it causes? The only way your neighbor’s insurance would be responsible, is if their tree was visibly diseased or dead, and you put them on notice before about it maybe being a problem in the future. Our insurance sent an adjuster out and he appraised the damage as quite extensive. I was worried about the $1000 deductible, but the leftover payment minus the deductible more than covers it. So, yay! Let’s get to this deck!
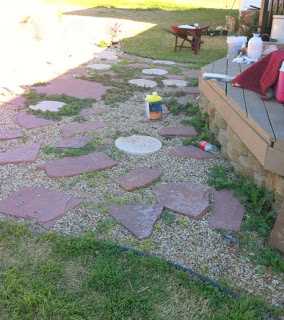
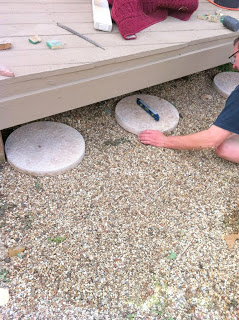
Our deck is a pretty nice size already, but the main side didn’t have any steps. The big drop-off was hard on a lot of people; mainly me. Short legs and big drop-off don’t mix. I also hated all of the flagstone, pavers and pebbles that led to the pool. If we are going to add steps, we might as well make them go the length of the deck…and if we’re going to do that, we might as well add a whole addition. That’s how the conversations go in our house. So, off to Lowe’s we went to price everything out.

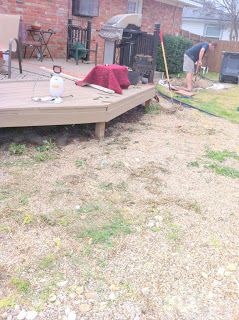
Taking out the stacked stone under the edge. We have got to be the messiest DIY’ers I know, so please excuse all the crap in advance.
You can do this on your home computer with the Lowe’s deck calculator, but we had the sales guy do it since we were already there. He looked up everything we needed for a 10×14 addition, and it came out to $1400! That is a ridiculous amount of money for some wood, and was so not in our budget this year. I left there feeling deflated and my wheels spinning on how we could pull this off cheaper.
Mark and I were bouncing ideas off eachother when he said ‘what does Pinterest say about pallet decks?’ Now, normally my husband’s inquires about Pinterest are said with more than a hint of sarcasm, but this time he was serious. He really wanted to know what other’s like us are doing out there. I think I’m bringing him over to the light.
We were looking at things like this:
Or this:
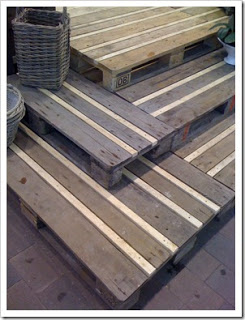
I really liked the look of the second one, especially if we sanded and stained the original parts to the pallets and added light filler trim, then polyed the whole thing. So we went to the one place in town where I knew we could grab a ton of pallets for cheap, the ReStore.
All of these were $20.
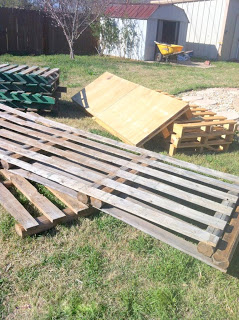
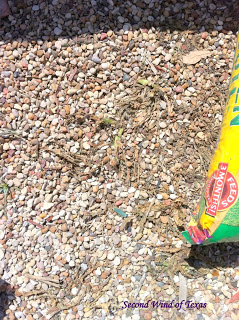
You want to start by clearing the area, leveling the ground…and killing all the weeds.
I killed these with vinegar. You can actually hear them sizzle when you put the vinegar on. They say it’s safe to plant 24 hours after using this method, but you need full sun for it to work right. And I would give it a couple of days, because the weeds hold the moisture. You want it to be dried out.
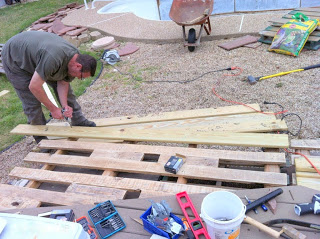
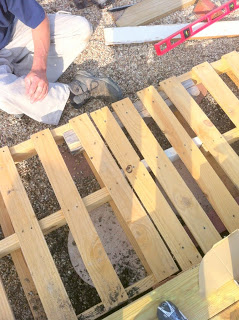
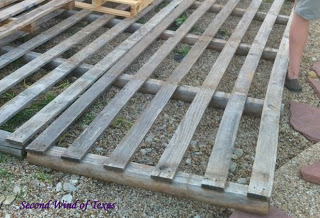
Next, dry fit how you want your pattern to go.
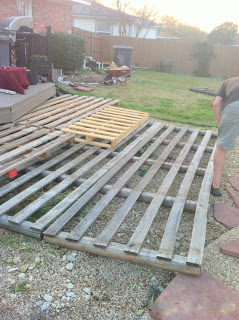
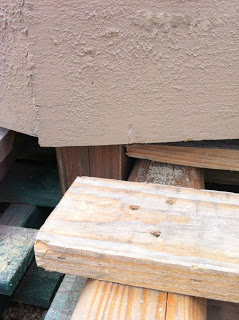
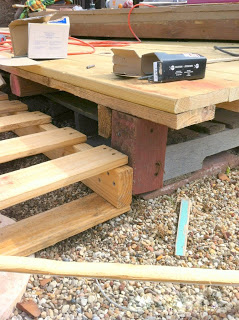
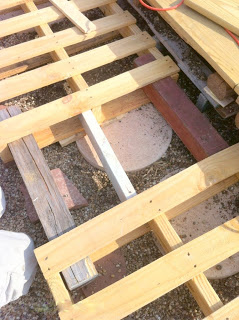
Then you want to find things that are level and won’t rot to set the pallets on. We used our old pavers and flagstone.
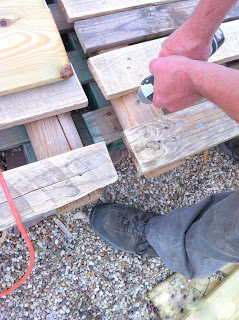
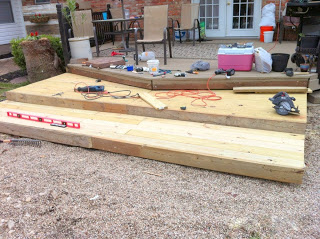
This is where I need to tell you that our original plan for this would have made this the ‘Under $100 Deck Addition,’ but the spaces in between the pallet slats were an odd size. They were bigger than 3 inches and less than 4 in most places, and added wood still left spaces or had to be pounded in, so we decided to scrap that idea and just make the pallets a really strong base for 1×6’s to go on top.
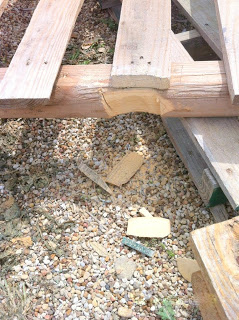
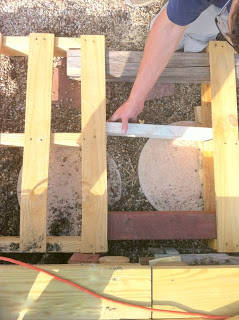
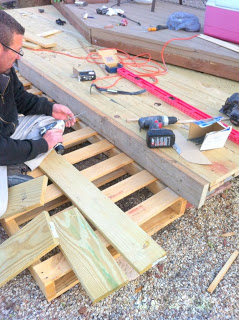
The bottom layer is attached to the existing 4×4 posts in the ground, and then they are attached together. We cut around for a perfect fit.
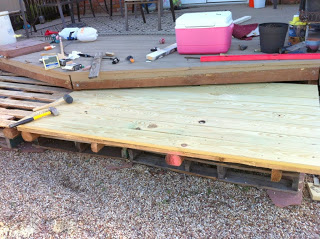
On the layer that will hold the 1×6’s, we added filler wood so they wouldn’t eventually sag into the holes.
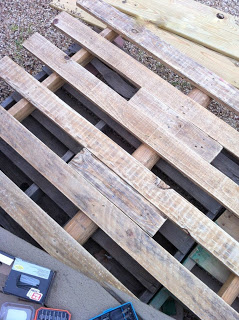
And then we screwed the top layer into the bottom.
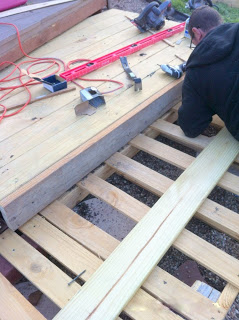
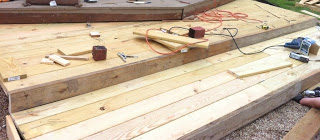
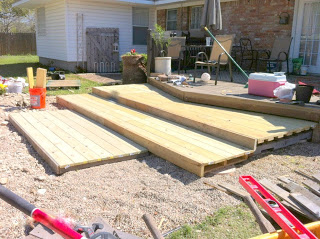
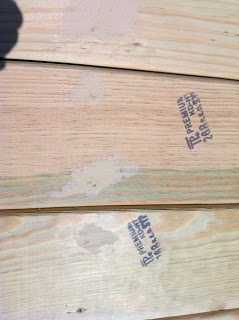
Then came adding the top tier’s boards.
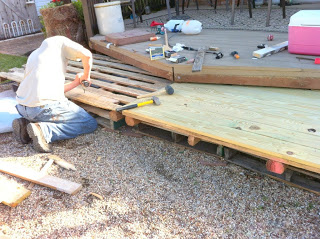
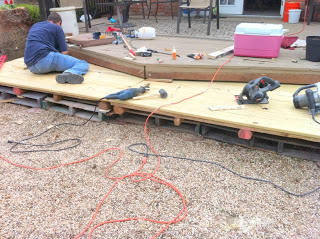
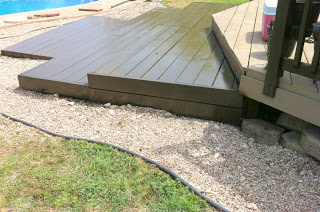
Then we laid down the second tier base, attaching it to the first tier. It was leveled the same way, with pavers underneath.
In between these 2 pallets, we added support posts to join them together.
The 1st tier got a 2×6 to trim the front. 25 cents a foot at the ReStore.
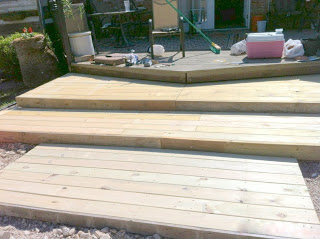
The 3rd tier is the only section he dug holes for and added its own 4×4’s to secure it to. Up against the 2nd tier front face trim, there are 4 little 4×4’s set in Quikrete, then 6 yard timbers @ 3.5ft long are jutting out and secured to those. Then 8 ft 1×6’s are laid across and screwed down. Once the whole thing was trimmed out, jumping on it didn’t make it budge.
Timbers from here…
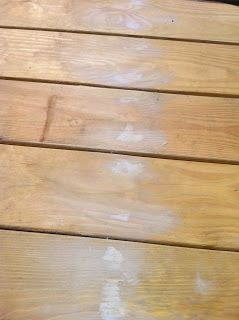
It was my job to fill all the screw holes and sand. I used Elmer’s brand wood filler for interior/exterior use. That stuff dries like cement!
Then I stained the whole thing a solid deck stain. I wanted solid over semi transparent because of wood fill spots. The color is coffee…
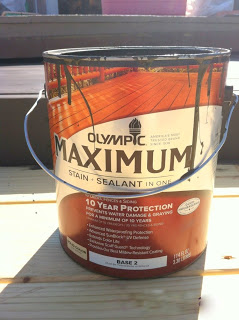
Don’t believe the hype on the 10 year protection. With severe temperatures like we have in TX, and sun beating down on it 10 months out of the year, we would be lucky to get 3 years out of this.
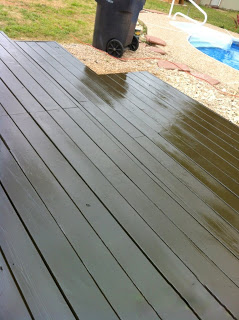
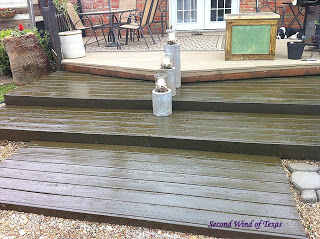
After 2 days of drying, I then topped it with Cabot’s Exterior poly. It’s water based, but oil fortified. This is a satin, and still a bit shiny, but it just adds extra protection and the water beads off of it now.
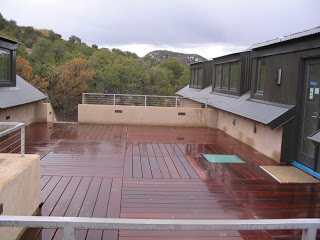
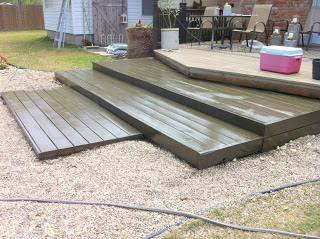
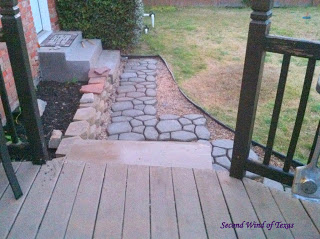
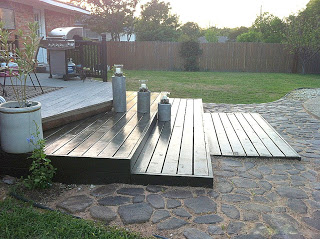
These were taken at dusk…
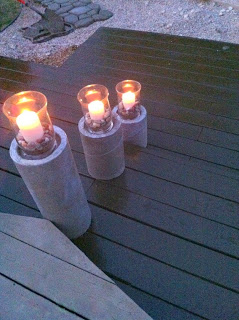
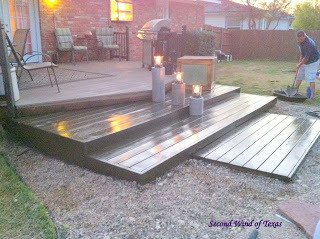
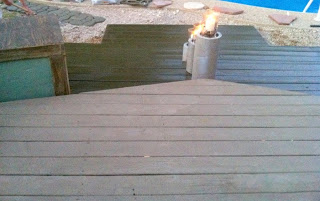
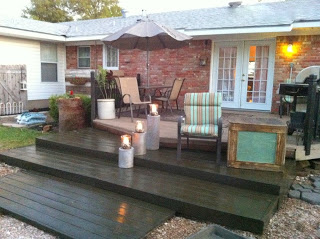
The chair and box are there for scale. It’s a nice sized landing for someone to sit a little closer to the pool and watch their kids. We are filling this whole area with the cobblestone mold, and will cut the garden border to allow the grass to eventually grow in. We are also going to plant different kinds of ground cover in between the stones, and maybe some plants in the corner to the right of the box. Like the fire colums? Click on the cobblestone mold link!

Still a bit to go, but getting there. The measurements are:
Top tier-14ft long by 4.9ft wide
2nd tier-14ft long by 2.5 ft wide
3rd tier-8ft long by 3.5ft wide
The 1×6’s and screws, poly and stain were what we bought new.
Pallets, wood, metal joints, screws, stain and poly total cost-$285!
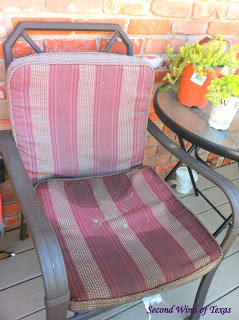
A few weeks ago we were on the hunt for new cushions for the patio set. We’ve had these chairs for 3 years now, and Texas weather has taken its toll on them. Pretty sad looking, huh?
Outdoor cushions are expensive! After pricing them out, we might as well bought a whole new patio set. I found a 2 piece set at Home Depot for $16.99 each piece, but I got them home and they were too small. The next size jumped to $30 each piece! We checked out Lowe’s as well, and they weren’t any better. We wound up buying from Big Lots.
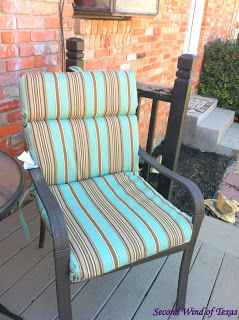
It’s funny, because Big Lots changed location in our town into a bigger building, and they promptly raised their prices on everything. It’s no longer the best deal in town. When we were walking through, I found myself saying ‘Big Lots has become so bourgeois…you might as well be shopping at Walmart!’ Huh? Where did that come from? They do still have pretty good deals on some of their outdoor cushions though, and we found these for $28 for each large one-piece. They are surprisingly cushy and sturdy.
Home Depot had their outside storage benches on sale for $69 a few weeks ago, and I was kicking myself for not getting one when I had the chance. My husband brought these home from work for me to do something with.
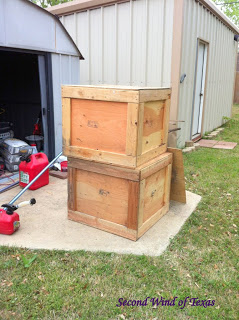
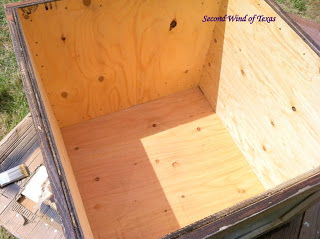
They are shipping crates for propeller spinners that were just going to get scrapped. They are just a simple construction of a sheet of plywood and some 1×3’s. I sprayed liquid rubber inside to fill all of the cracks.
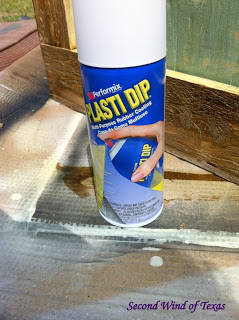
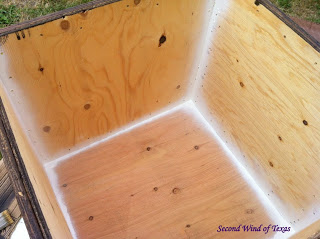
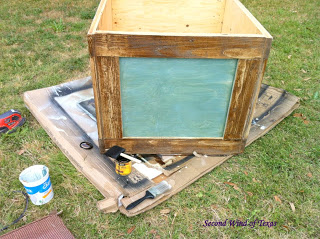
As I sprayed and caught a scary buzz off this stuff, I had the thought that on the next ones, I will use caulk. It’s a lot easier, and maybe I won’t get brain cancer from it. I trimmed the lid out with a 1×2, and after I finish staining and polying it, I will add some weather stripping to the underside. I will have a friend of mine make some cushions for them, and voila! Outdoor storage benches.
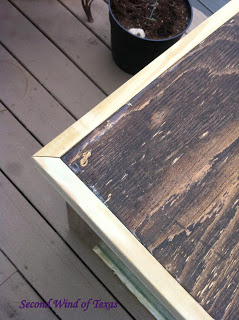
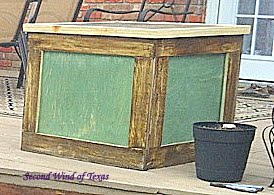
The color is from a sample pot of Valspar’s Secluded Garden. It is a complete coincidence that it matches the cushions perfectly. Love it when that happens!
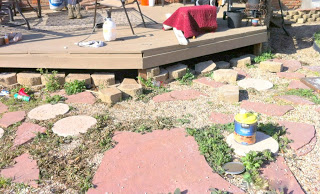
We are finishing up making stones all around these next few days.
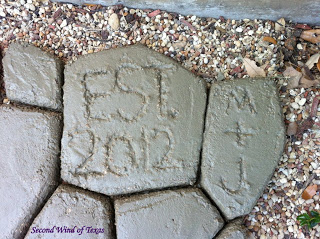
The year we were married.
And this is happening right now!

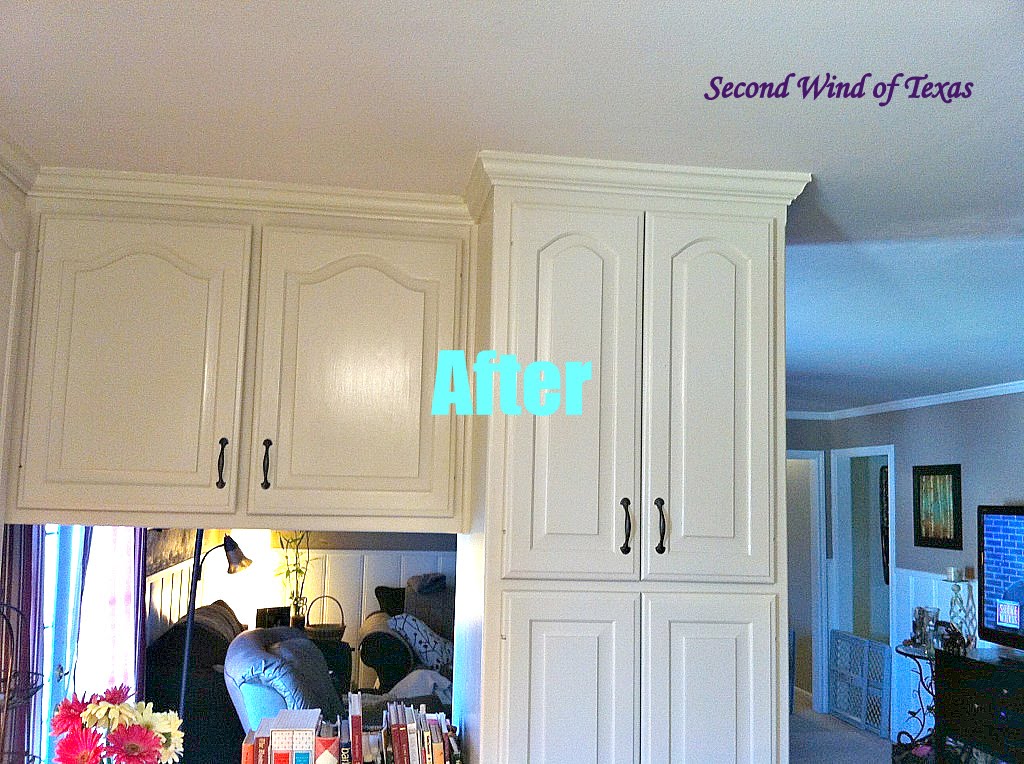
Here’s the before and after…


I’m so excited! It will all be done in the next couple of weeks, at which time we will hold our 2nd annual Blackmon Family Crawfish Boil. It marks the opening of the pool for the year.
And speaking of the pool, join me Thursday for…
Tutorial: How to Install a Pool Liner!
I hope you enjoyed today’s post and our new deck addition! If you did, leave some comment love. Y’all come back soon!
Cheers,
Jodi


16 thoughts on “Our Under $300 Complete Deck Addition! Outside Improvements”
Honey I LOVE all the projects you’re doing outside!!!! And you’re posts are perfection with all the photos and details! The cement pillars you showed us before look amazing on the new deck!
Bravo!!!!
What an awesome thing to say! Thank you so much! 😀
I like your deck addition. Garden Ridge also has a good variety of outdoor chair cushions. I’m visiting from Beneath My Heart!
Welcome, and thank you! Yeah, I’ve heard of Garden Ridge, but the closest one is about 80 miles away. I think I might stop in and check it out the next time I go to Austin.
Thanks for sharing your gorgeous deck addition at Project Inspired – pinned to our group party pinboard – hope to see you at tomorrow nights party too!
Wow! Thanks, Heather. You sure will!
Wow! So clever and so beautiful! There’s no such thing as too much space when it comes to a deck! Great job! Thanks so much for sharing at That DIY Party! 🙂
Thanks so much, Roeshel! Love the party. Awesome stuff!
I love big deep steps! Great job.
Thx for your sweet comment on my desk too.
Cheers!
Great job and I agree Home Depot and Lowes are ridiculous with there prices I found out Walmart is better with there outdoor furniture prices…I love it hope you guys enjoy it!!!
Thank you so much for visiting, Miriam! We are enjoying the outdoor space a heck of a lot more now that it’s all done.
Hi Jodi,
Thank you so much for linking up with us at Pin It Monday Hop. We will be featuring your project on Thursday. Please stop by when you get the chance.
Judy
Thank you, Judy! I’ll be there.
Good work on deck.. Beautiful transformation. The addition of chair and table with lamps adding extra beauty to the exterior.
Thanks so much! 🙂
Jodi, this is such a great idea! I love pallets as a source of inexpensive material… and of course, great inspiration… 🙂
I work with Cassity over at Remodelaholic, and we are interested in featuring you and your deck.
Thanks!
Lorene